Contact Zone:CSV Input
| Contact Zone Basics Navigation | ||||||||
|---|---|---|---|---|---|---|---|---|
| Overview | ||||||||
| Tutorial | ||||||||
| ||||||||
| ||||||||
|
CSV stands for Comma-Separated Values. Contact Zone can use CSV files as input.
This step is located in the View/Design Pane, under the Design tab, in the Input folder, with the name CSV file input.
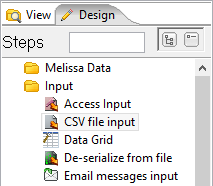
To get started, Left-click drag and drop the CSV file input from the View/Design Pane to the Transformation Pane.
Configuring the Step
1. Double-click the CSV file input Step. (Or right-click the Step and select Edit step.)
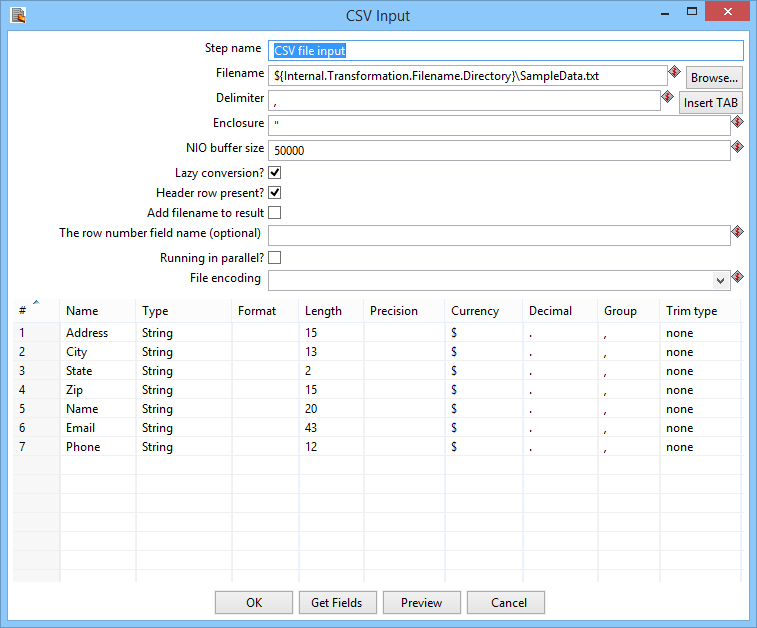
2. Here the configuration window that belongs to this type of Step will appear. In this case, the CSV Input window. Here we need to setup:
- Step name - If needed, we can change this name to be more descriptive.
- Filename - Here we link this Step with our input data file.
- Click the Browse... button and navigate to the desired data file.
- Delimiter - Specify what type of delimiter the file uses.
- Enclosure - Specify what type of enclosure the file uses.
3. Now we need to click Get Fields to populate what fields our CSV file has.
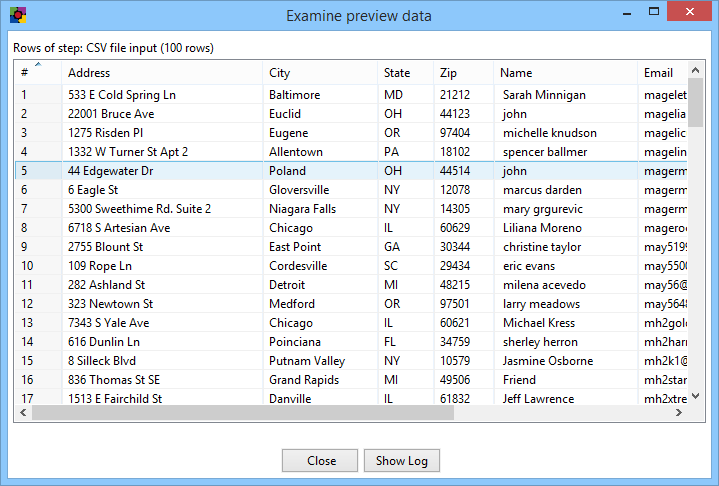
4. A pop-up will open. The default amount of 100 sample lines is fine. Click OK.
5. After this we get the Scan results. Take note of any warnings listed. These warnings may indicate a need to modify the input fields.
6. Generally the Type and Length fields need alterations, but any field can be altered, depending on the input data file.
- Click on the cell under Type that we want to change, click the small down arrow to the right of the cell, and choose the desired type from the drop-down menu.
- Click on the cell under Length that we want to change, then enter the desired length in the cell.
- These modifications will prevent errors in our output and give us better results.
- Note
- If you encounter errors or the output data seems incomplete, it may well be due to incorrect settings on our input file fields. So it is recommended to check this step if any errors occur.
7. Click OK to finish defining the CSV Input Step.