Contact Zone:Global Verify Tutorial
| Global Verify Navigation | |||||||
|---|---|---|---|---|---|---|---|
| Overview | |||||||
| Tutorial | |||||||
| |||||||
| |||||||
| Result Codes |
The following steps will guide you in the basic usage of Global Verify for Contact Zone.
Component Settings
Navigate to Tools > Melissa Data Settings > Components > Global Verify.

Set up the Global Verify Component Settings. See Component Settings.
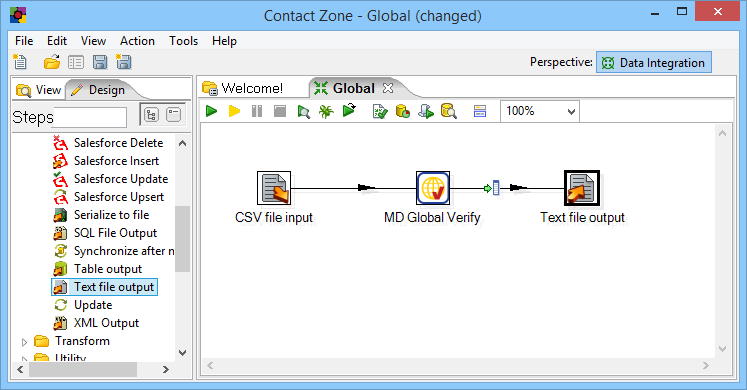
Add Component
To add Global Verify to your project, drag the component onto the Data Flow screen. This will snap the Global Verify Component into your workflow space.

Connect Input
Select a data flow source for your input data. Many formats can be used as sources, including Excel files, flat files or Access Input data sources. Connect this data source to the Global Verify Component by dragging the arrow from your data flow source to the Global Verify Component.

Configure Component
Double click the Global Verify Component to bring up the interface.
Input Address Tab
Map the input for Global Address Input Fields. At least one Address Line and the country is required. Locality, Administrative Area, and Postal code are recommended if available.

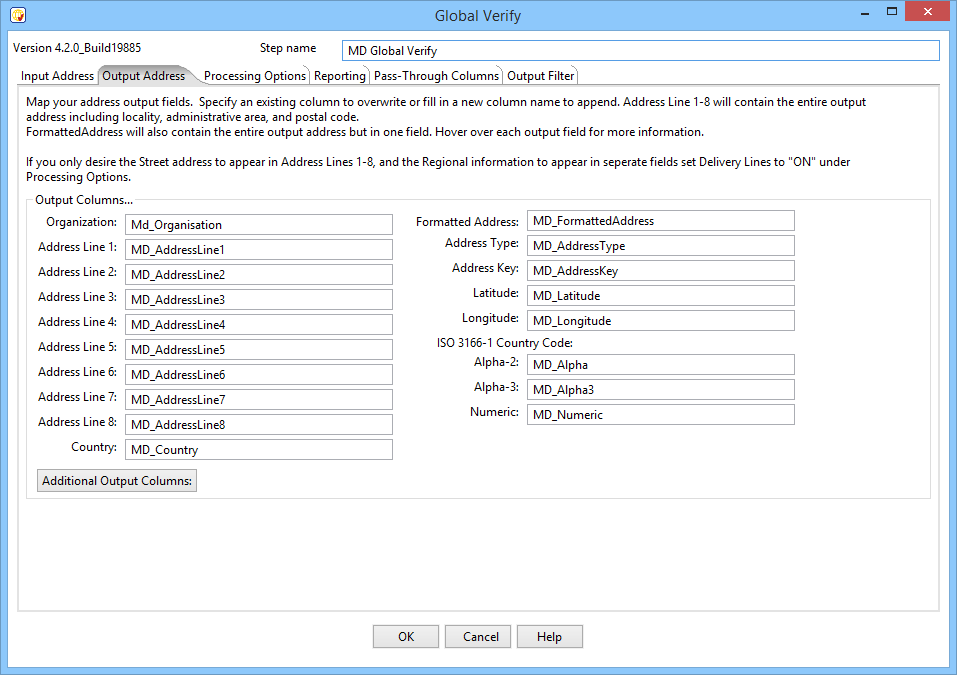
Output Address Tab
You can map outputs to existing fields or create new ones.
Processing Options Tab
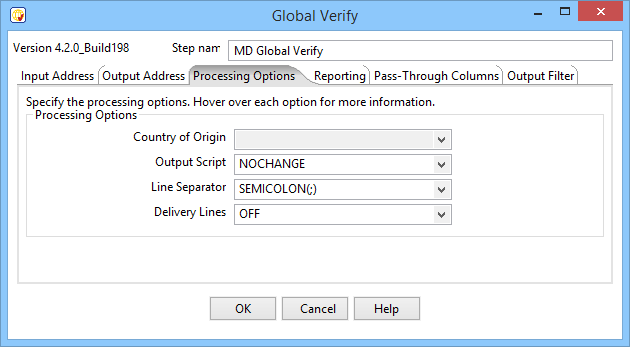
- Country of Origin
- The country from which mail would be sent.
- Output Script
- The character set to use to format the output data.
- Line Separator
- The delimiter between output lines.
Reporting Tab
Select whether or not to Generate Reports, Save the Reports, with Job Name and Location.

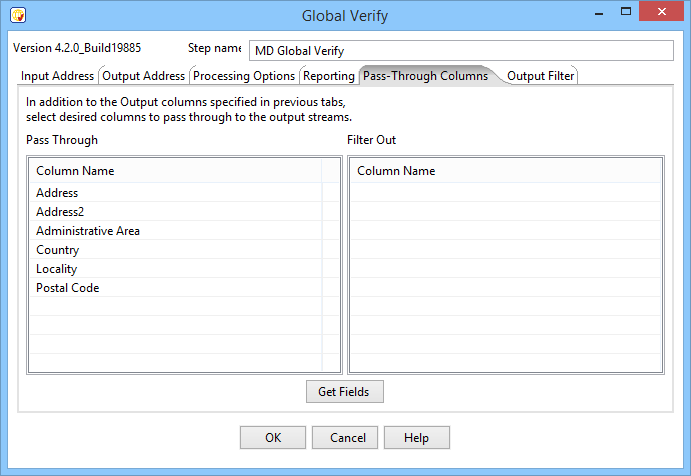
Pass-Through Columns Tab
Click on Get Fields to retrieve column names. You may choose which columns to pass through to the data file and which fields to filter out.
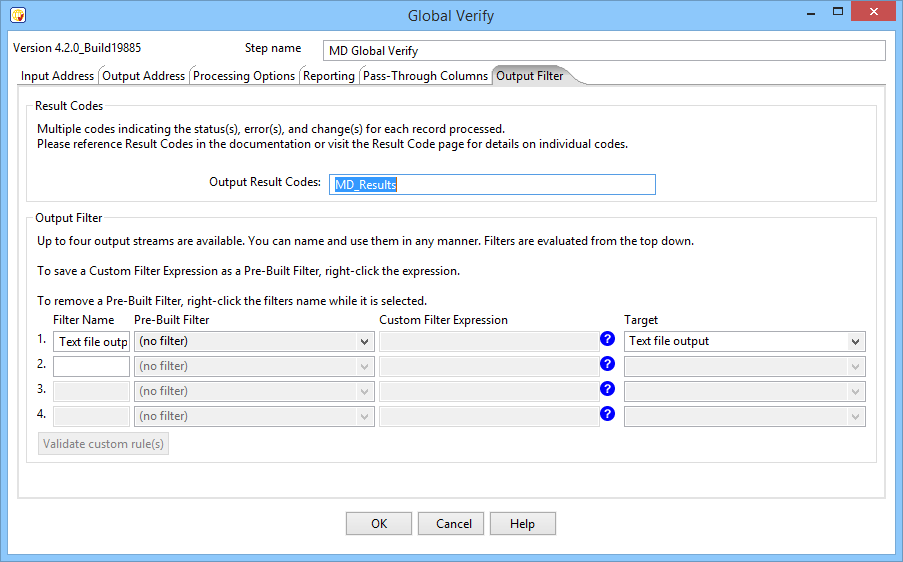
Output Filter Tab
You can specify the filter from the drop down or you can also create your own custom filter.
Connect Output
Add data destinations for downstream output. Connect the respective output filter pin to the output destination.
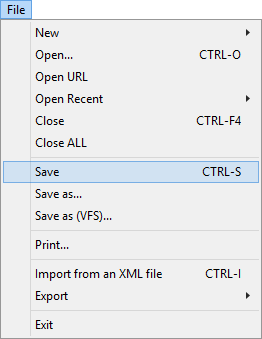
Save Settings
Click File and select Save as to save the project.
Run Project
Now, the project is ready to run. It is possible to observe in real time as records flow from your input source through the Global Verify Component and pipe output source depending on the filtering options.