Magento Plugin:Tutorial
| Magento Plugin Navigation | ||||
|---|---|---|---|---|
| ||||
| Tutorial |
Checkout Procedure
When a shopper proceeds to check out from your store after placing items in the shopping cart, they are given a choice to Checkout as Guest or Register and Checkout. The billing information step that follows is where auto completion works to enable the customer to enter their address with only the first few characters. The following picture shows what the auto-completion fields look like before entering partial addresses into them (here, both Single Line and Fielded Input are enabled).

The fields to enter addresses appear as they are configured on the configuration panel: Single Line Entry, Fielded, both, or neither, according to the Global Express Entry (single row) and Global Express Entry (Fielded) options selected in the configuration.
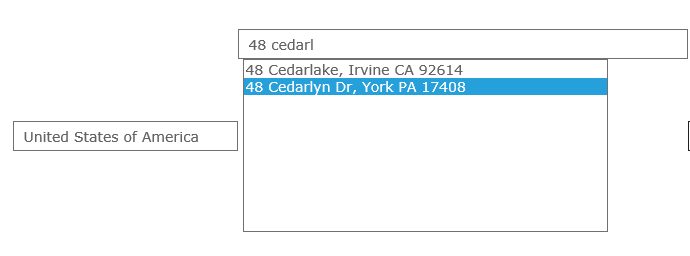
As an example, the following picture shows how the shopper can type the beginning of their address in Single Row AutoCompletion and have the service autocomplete it for them.
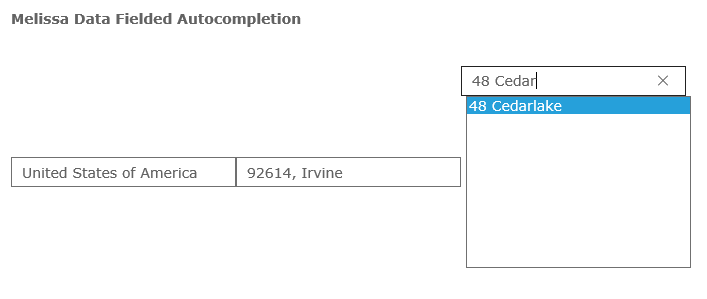
Fielded Auto-completion is a two-step process in which the Postal Code is entered first, and then address line 1 next. Entering the address in this manner saves keystrokes, making address entry even more efficient. The picture that follows shows Fielded Autocompletion.
The fields in the Billing Information form (Except State/Province) are filled out automatically upon completing the final step.
The shopper may also click the Verify button to send the physical and email addresses to Melissa Data’s Global Web Verification and Global Email Verification services, (enabled in the extension configuration if licensed for your ident), which will return a message indicating whether they are valid.