This wiki is no longer being updated as of December 10, 2025.
|
Contact Zone:MySQL Input: Difference between revisions
No edit summary |
No edit summary |
||
| Line 51: | Line 51: | ||
|[[Contact Zone:Text Output|Text Output]] | |[[Contact Zone:Text Output|Text Output]] | ||
|} | |} | ||
|} | |} | ||
Revision as of 20:23, 14 August 2014
| Contact Zone Basics Navigation | ||||||||
|---|---|---|---|---|---|---|---|---|
| Overview | ||||||||
| Tutorial | ||||||||
| ||||||||
| ||||||||
|
MySQL is a relational database management system. With input from a MySQL database you can import a variety of data into a tranformation. Contact Zone can use MySQL databases as input.
First you need to setup a Table Input Step.
This step is located in the View/Design Pane, under the Design tab, in the Input folder, with the name Table input.
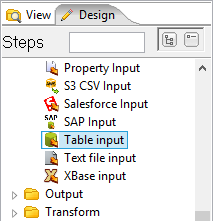
To get started, Left-click drag and drop the Table input from the View/Design Pane to the Transformation Pane.
Configuring the Step
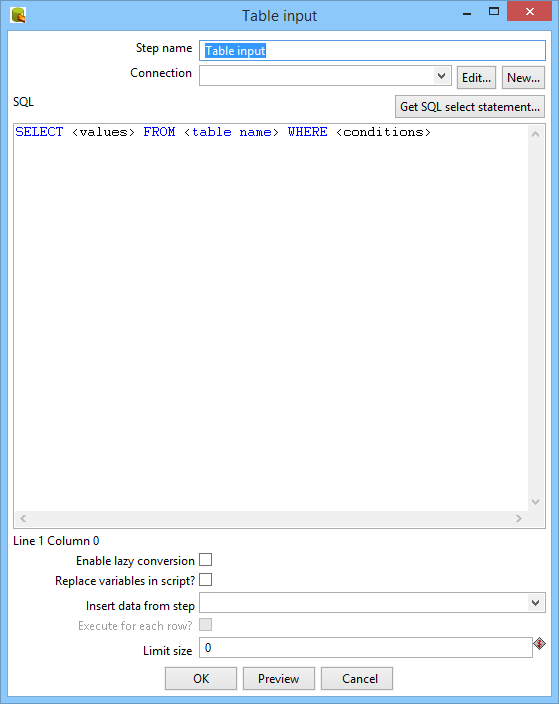
1. Double-click the Table input Step. (Or right-click the Step and select Edit step.)
2. Here the configuration window that belongs to this type of Step will appear. In this case, the Table Input window. Click New....
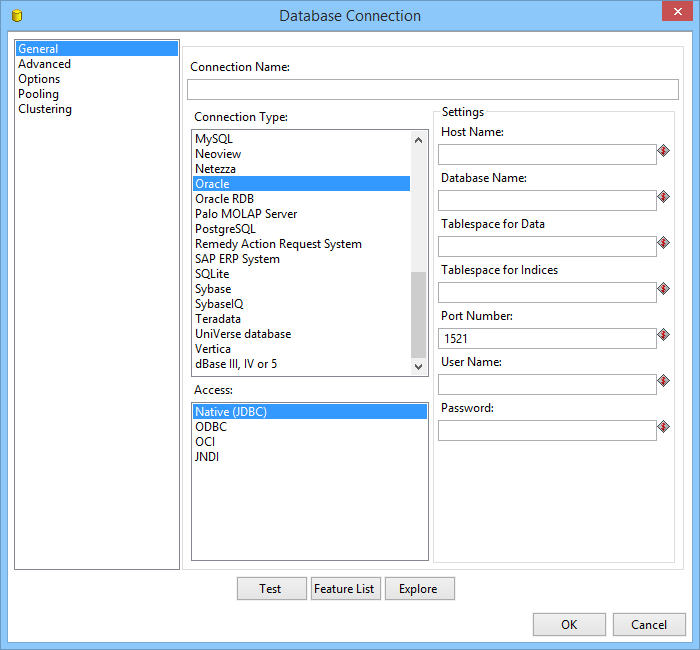
3. Now the Database Connection window will open. Here you will setup your MySQL information:
- Connection Name: - Specify a name for your connection.
- Connection Type: - Specify what type connection. In this case, MySQL.
- Access: - Defaults to Native (JDBC).
The following Settings are highly dependent on your MySQL server settings. Contact your network admin to find them out.
- Host Name: - Enter the host name.
- Database Name: - Enter the database name.
- Port Number: - Defaults to 3306.
- User Name: - Enter the user name.
- Password: - Enter the password.
- Database Name: - Enter the database name.
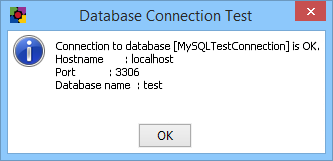
4. Click Test.
5. Once the test verifies a connection to the server, click OK.
6. Click OK in the Database Connection Window to finish the database connection setup.
7. In the Table Input Window, select the connection you just set up in the Connection drop-down menu.
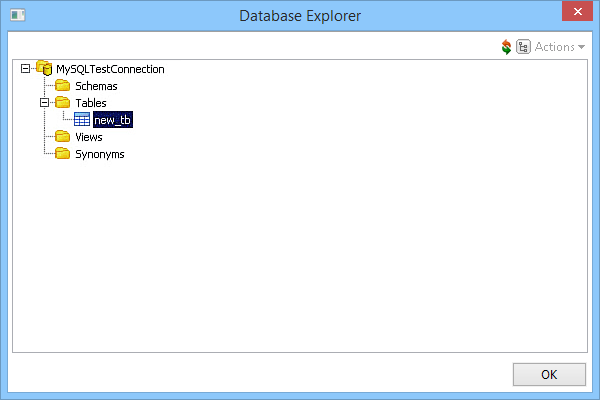
8. Click Get SQL Select Statement... and navigate to a desired table in the Database Explorer window. Click OK.
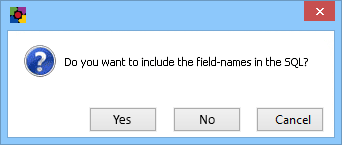
9. A prompt will ask if you want to include the field-names in the SQL. Click Yes.
10. An SQL query will be generated from the table under the SQL section in the Table Input Window.
11. Click OK to finish defining the MySQL Input Step (through the use of a Table Input).