This wiki is no longer being updated as of December 10, 2025.
|
Contact Zone:Excel Input
| Contact Verify Navigation | ||||||||
|---|---|---|---|---|---|---|---|---|
| Overview | ||||||||
| Tutorial | ||||||||
| ||||||||
| ||||||||
| ||||||||
| Reporting |
Contact Zone can use Excel files as input.
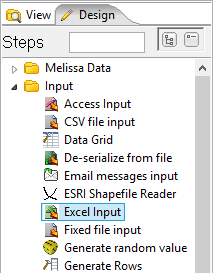
This step is located in the View/Design Pane, under the Design tab, in the Input folder, with the name Excel Input.

To get started, Left-click drag and drop the Excel Input from the View/Design Pane to the Transformation Pane.
Configuring the Step
1. Double-click the Excel Input Step. (Or right-click the Step and select Edit step.)
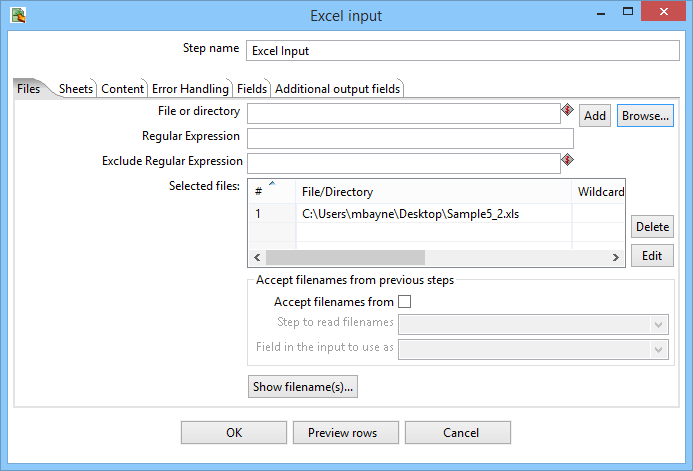
2. Here the configuration window that belongs to this type of Step will appear. In this case, the Excel Input window. Here we need to setup:
- Step name - If needed, we can change this name to be more descriptive.
- File or directory - Here we link this Step with our input data file.
3. Click the Browse... button and navigate to the desired data file. Then click Open.
4. Click Add to add the file to the Selected files: list.

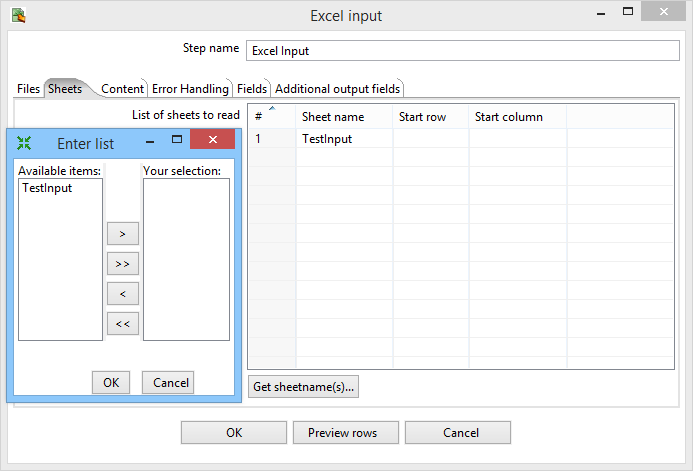
5. You now need to add sheets from the selected excel file. Click on the !Sheets tab.
6. Click on Get sheetname(s)... to add sheets. This will cause the Enter list window to appear.
7. In the Enter list window, select the desired sheets to add, moving them from the Available items: list to the Your selection: list through the use of the >, >>, <, or << buttons. One (>, or <) moves one selected sheet to the indicated list. Two (>>, or <<) moves all sheets to the indicated list.
8. Once the desired sheets are under Your selection: click OK.

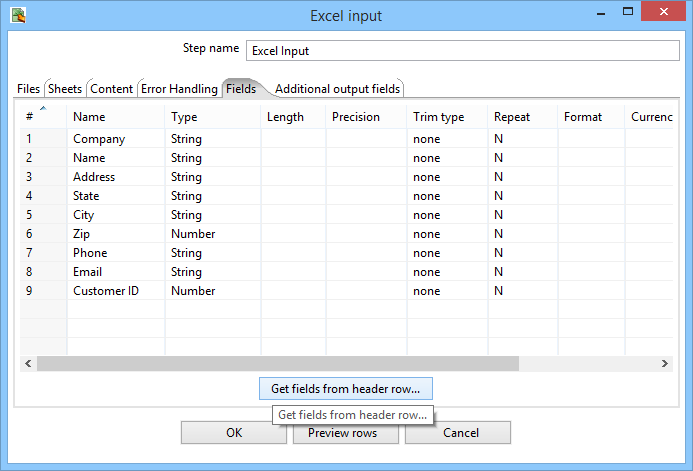
9. Select the !Fields tab.

10. Click Get fields from header row.... This will populate the fields with information taken from the header row in the excel file.
11. Click OK to finish defining the Excel Input Step.