This wiki is no longer being updated as of December 10, 2025.
|
Contact Zone:Text Output
| Contact Zone Basics Navigation | ||||||||
|---|---|---|---|---|---|---|---|---|
| Overview | ||||||||
| Tutorial | ||||||||
| ||||||||
| ||||||||
|
Contact Zone can output data to text files.
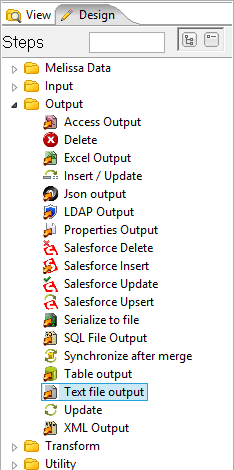
This step is located in the View/Design Pane, under the Design tab, in the Output folder, with the name Text File Output.

To get started, Left-click drag and drop the Text File Output from the View/Design Pane to the Transformation Pane.
Then create a hop from the previous transformation step to this output step: Shift-left click and drag from the previous step to this step.
Select Create a new target filter for this step from the drop-down menu that pops up.
Configuring the Step
1. Double-click the Text File Output Step. (Or right-click the Step and select Edit step.)
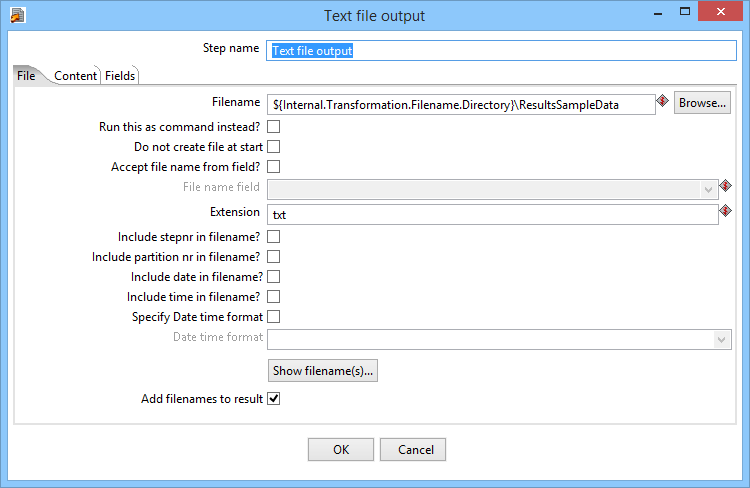
2. Here the configuration window that belongs to this type of Step will appear. In this case, the Excel output window. Here we need to setup:
- Step name - If needed, we can change this name to be more descriptive.
- Filename - Here you designate the output filename and location.
3. Click the Browse... button and navigate to the desired file location. Name the file, then click Save.

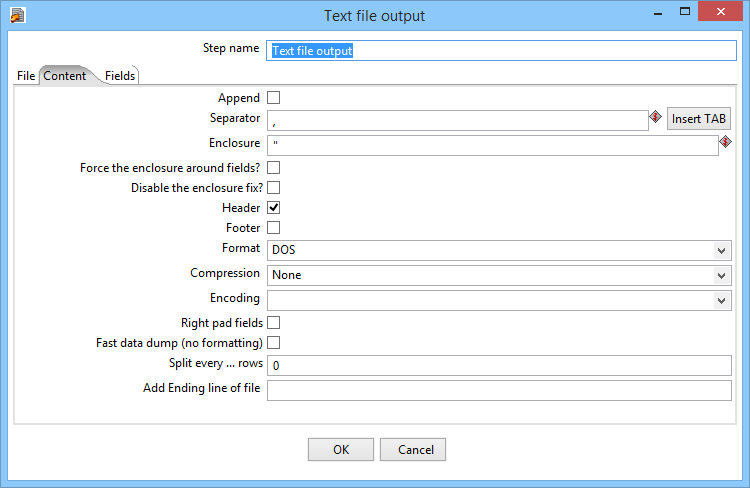
4. Select the Content tab.
5. Choose what Separator and Enclosure you want for the output file. (Text qualifiers.)

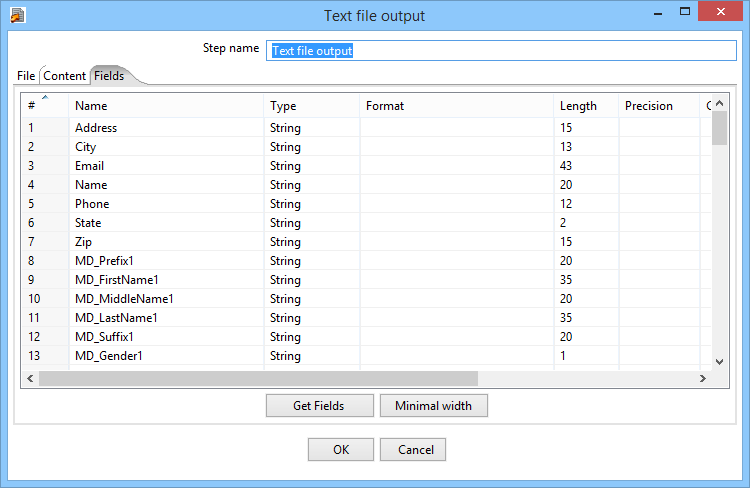
6. Select the Fields tab.
7. Click Get Fields. This will populate the fields with information taken from the previous step, and appear in this output file.
8. Click OK to finish defining the Excel Output Step.
