Difference between revisions of "Express Entry Desktop:Installation"
Jump to navigation
Jump to search
| Line 2: | Line 2: | ||
{| class="mw-collapsible" cellspacing="2" style="background-color:#f9f9f9; border:1px solid #aaaaaa; font-size:9pt; color:#0645ad; padding:8px 8px;" | {| class="mw-collapsible" cellspacing="2" style="background-color:#f9f9f9; border:1px solid #aaaaaa; font-size:9pt; color:#0645ad; padding:8px 8px;" | ||
! style="text-align:left; color:black; border-bottom:1px solid #aaaaaa;"|''' | ! style="text-align:left; color:black; border-bottom:1px solid #aaaaaa;"|'''Express Entry Desktop Navigation''' | ||
|- | |- | ||
| style="padding-right:220px;"| | | style="padding-right:220px;"| | ||
Revision as of 17:50, 2 July 2014
← Express Entry Desktop Reference
| Express Entry Desktop Navigation | ||||||
|---|---|---|---|---|---|---|
| ||||||
| Tutorial | ||||||
|
To install, simply run ExpressEntryDesktop.exe, and follow the on-screen prompts.
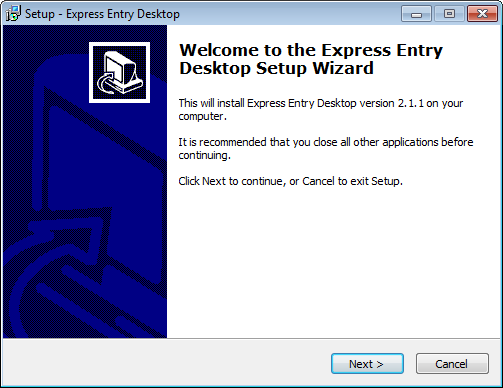
The license string may be inserted during the Setup process, or upon first use of the software.