This wiki is no longer being updated as of December 10, 2025.
|
Legacy:Dynamics:Global Verify:Configuration
← Legacy Clean Suite for CRM:Dynamics
| Global Verify Navigation | ||
|---|---|---|
| Overview | ||
| Installation | ||
| Configuration | ||
| Custom Mapping | ||
| Tutorial | ||
| Fields | ||
|
Configuring Global Verify
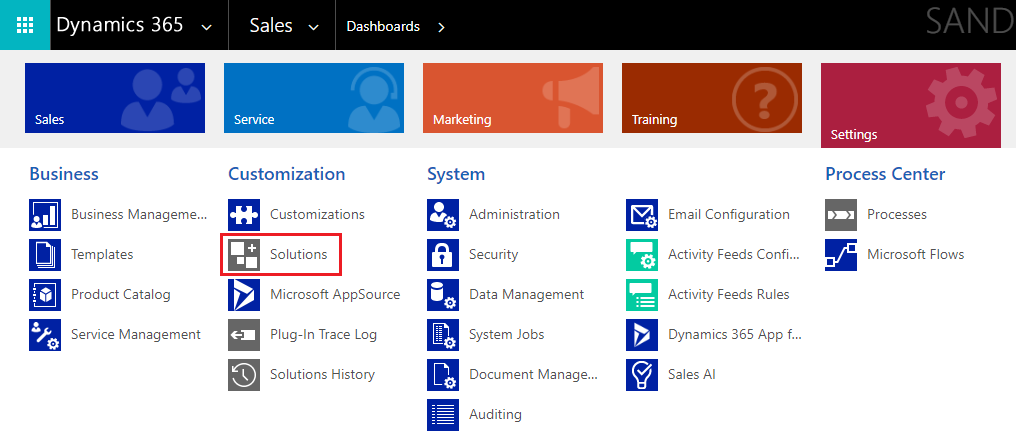
1. Begin by navigating to Settings. To do this, click the down arrow next to Sales, then Settings in the menu that drops down.

2. Then click Solutions in the Customization category.
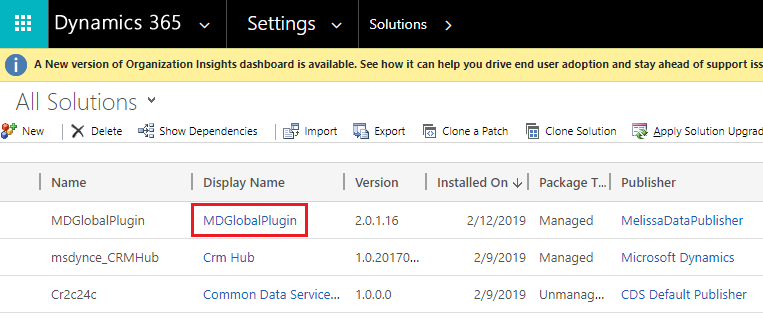
3. Click the MDGlobalPlugin under Display Name.
4. Click Configuration in the solution pane located on the left side of the window.
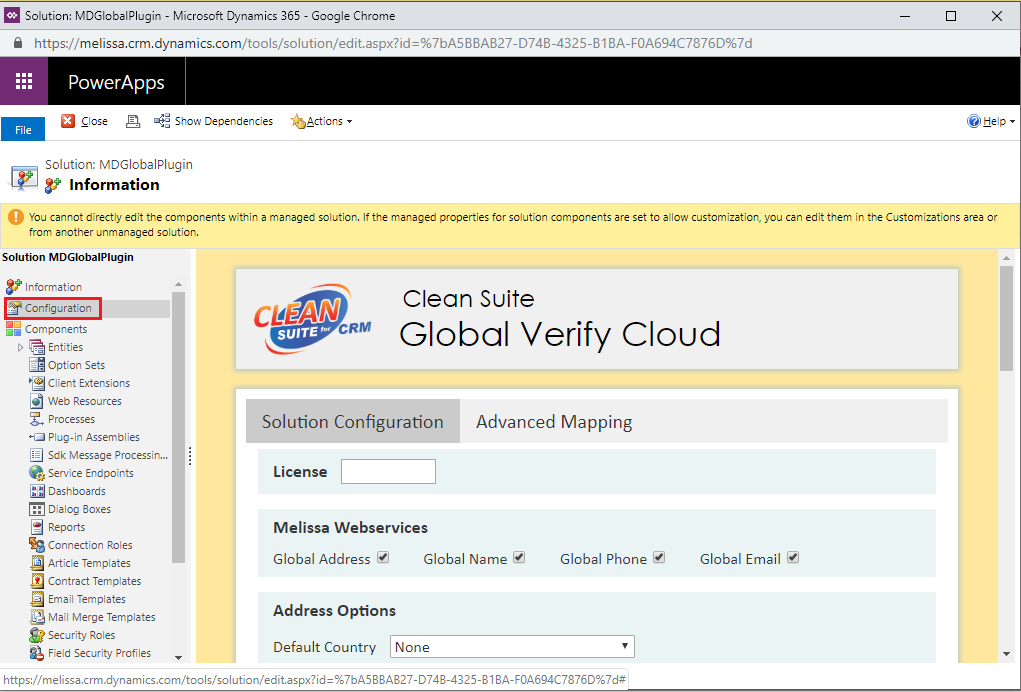
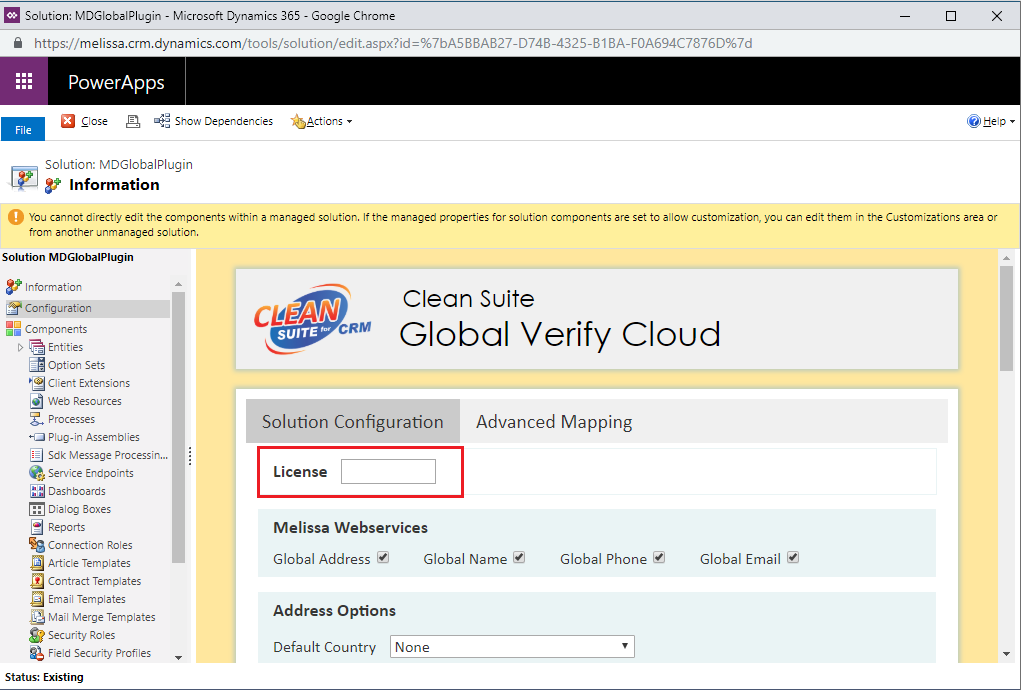
5. Enter your License Key into the License field.
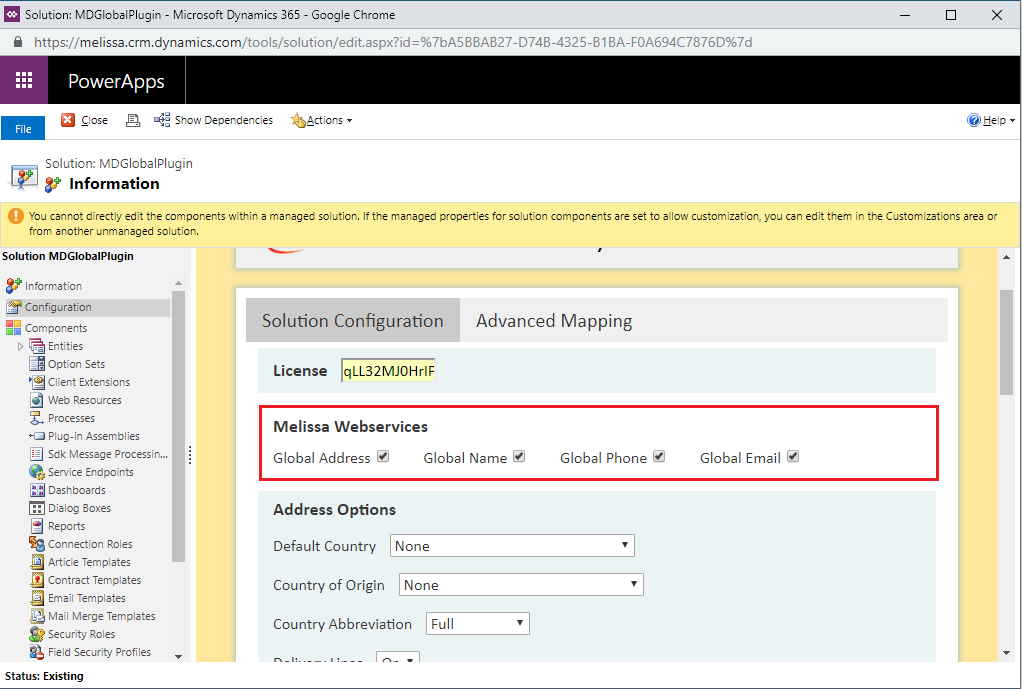
6. Select the Melissa Webservices you would like to use.
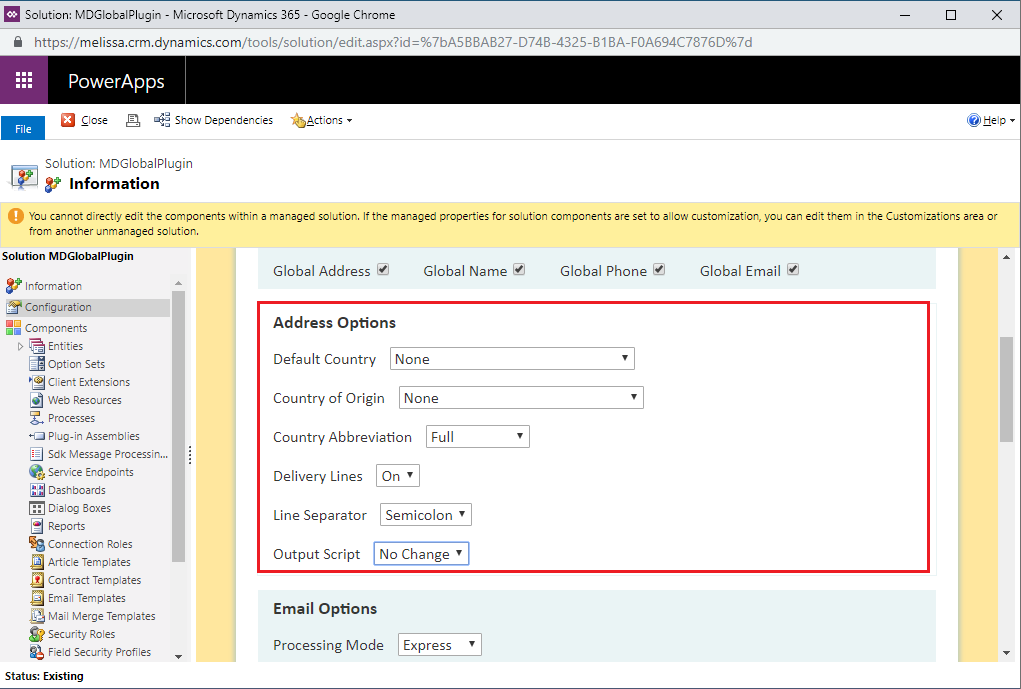
7. Select your desired options for Address Options. A country must be selected in order to use the Global Address Verification service. The result code section sets the success/failure conditions given during the use of the service. For more information, see Global Address.
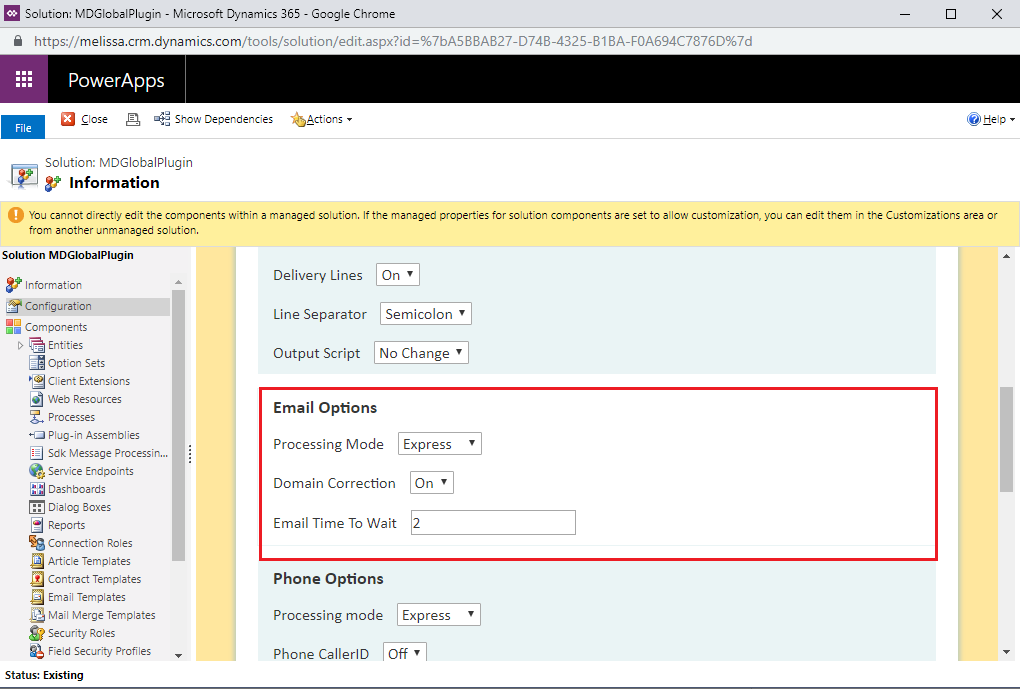
8. Select your desired options for Email Options. The Premium version of the service requires a subscription and will incur additional fees. For more information, see Global Email.
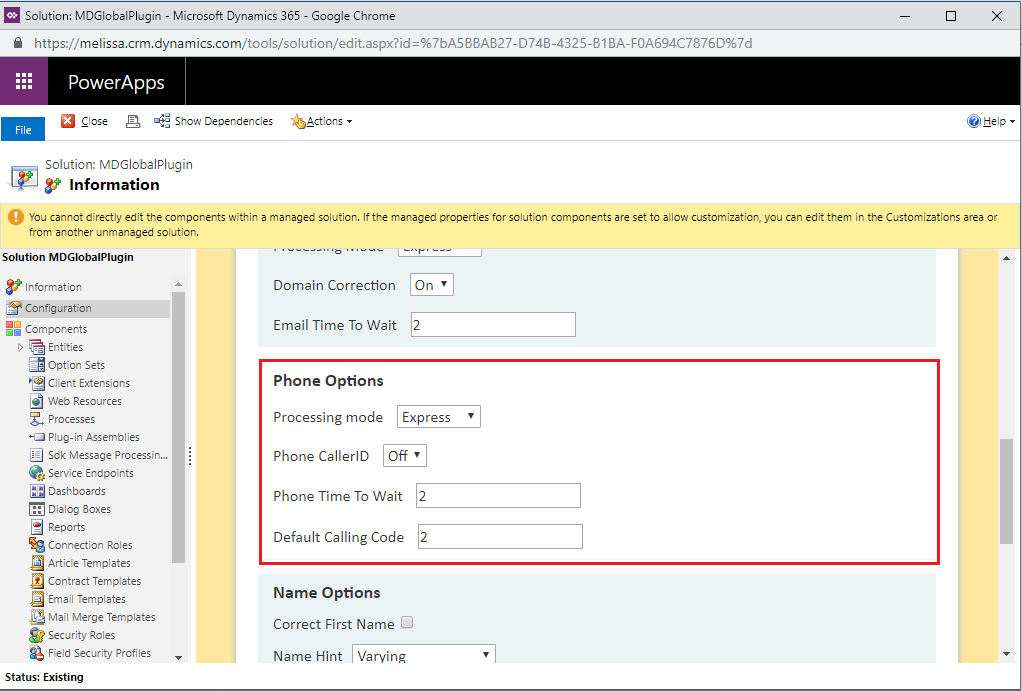
9. Select your desired options for Phone Options. The Premium version of the service requires a subscription and will incur additional fees. For more information, see Global Phone.
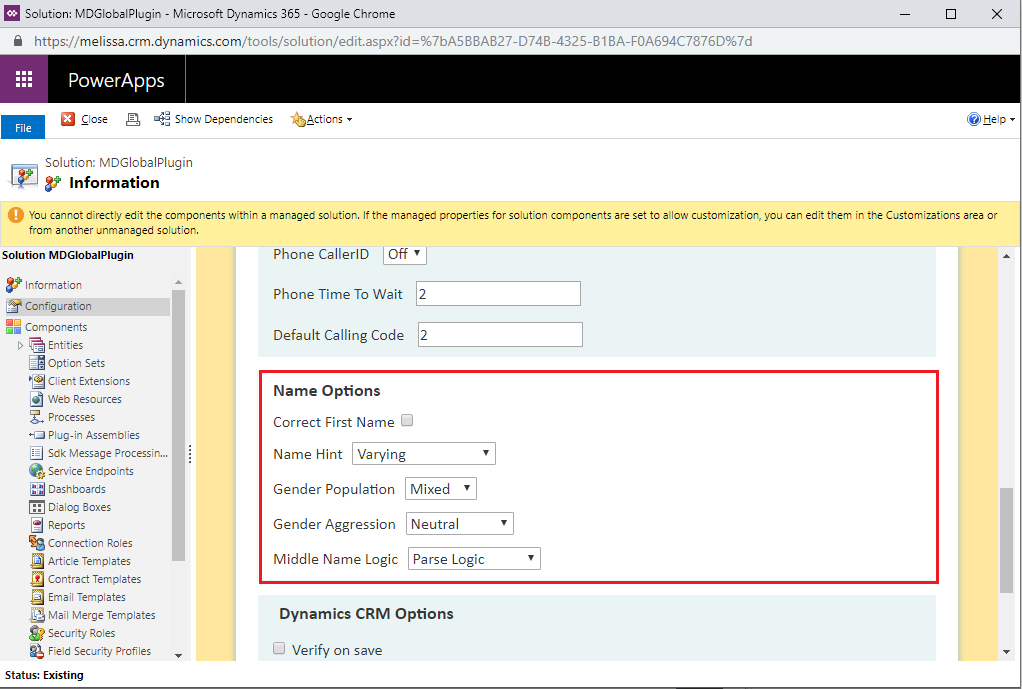
10. Select your desired options for Name Options. These options determine how aggressive the name parsing can be. For more information, see Global Name.
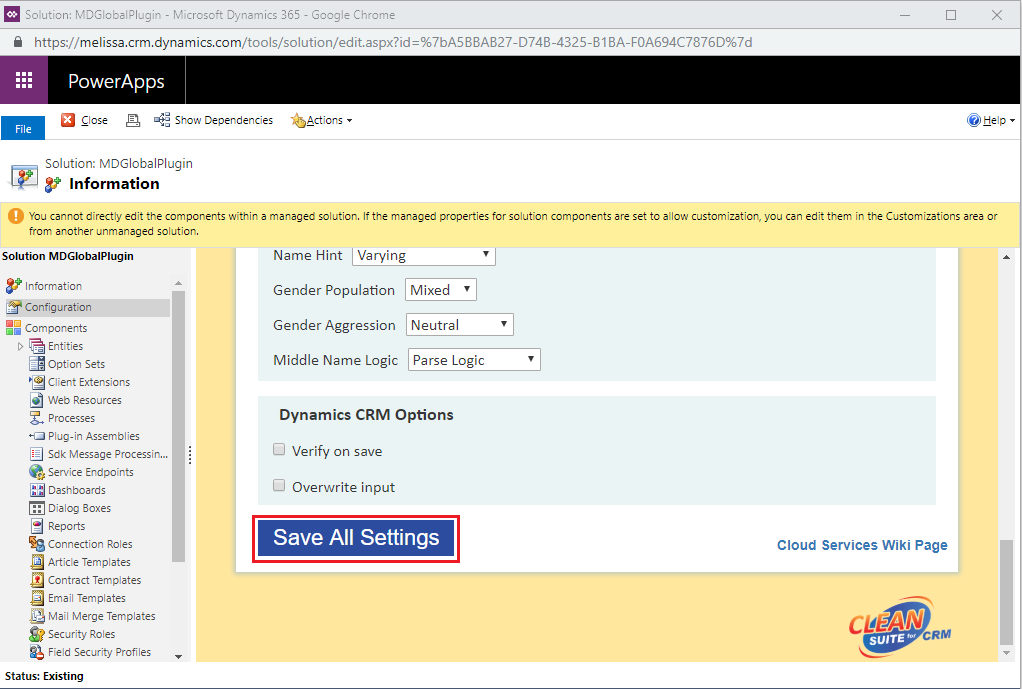
11. Select your desired options for Dynamics CRM Options.
- Check Verify on save to process your input fields every time a record is saved.
- Check Overwrite input to overwrite your input fields as well as fill in some of the out of the box fields where available. If left unchecked, the service will simply fill-in the fields created for our service.
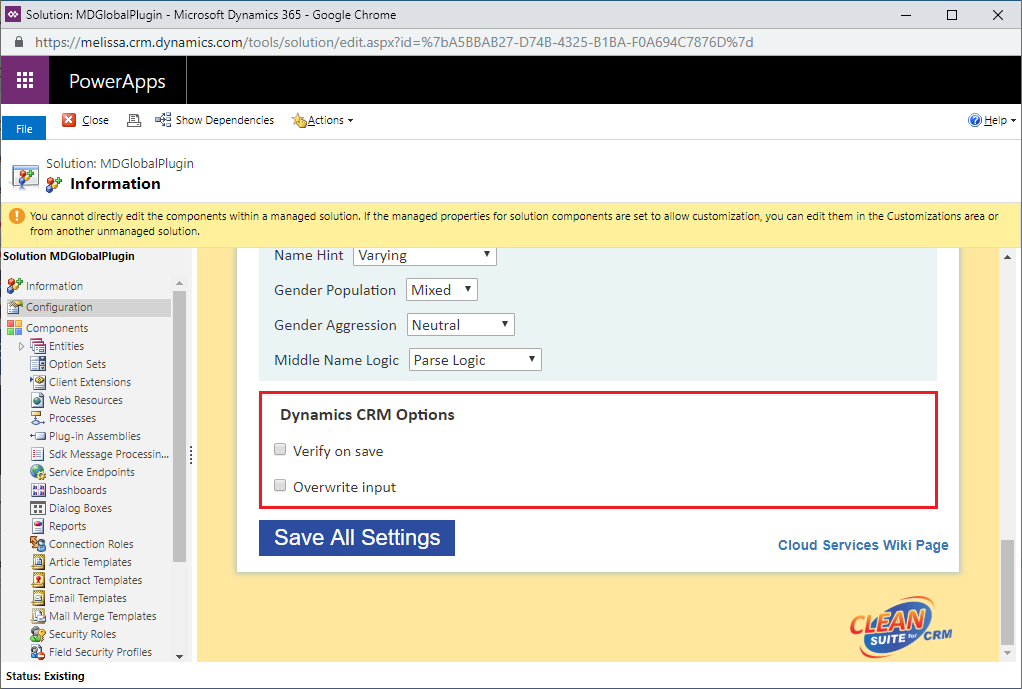
12. Click Save All Settings to save these configurations. This completes the configuration.
