This wiki is no longer being updated as of December 10, 2025.
|
Legacy:Salesforce:Setup
← Legacy:Clean Suite for CRM:Salesforce
| Legacy Salesforce Navigation | |||||
|---|---|---|---|---|---|
| |||||
| |||||
| |||||
|
To begin using Clean Suite for Salesforce, you must first complete a few simple setup steps.
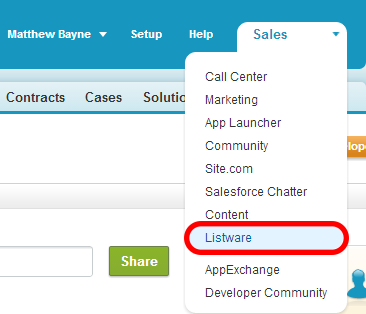
1. Select Clean Suite from the Sales drop-down menu.

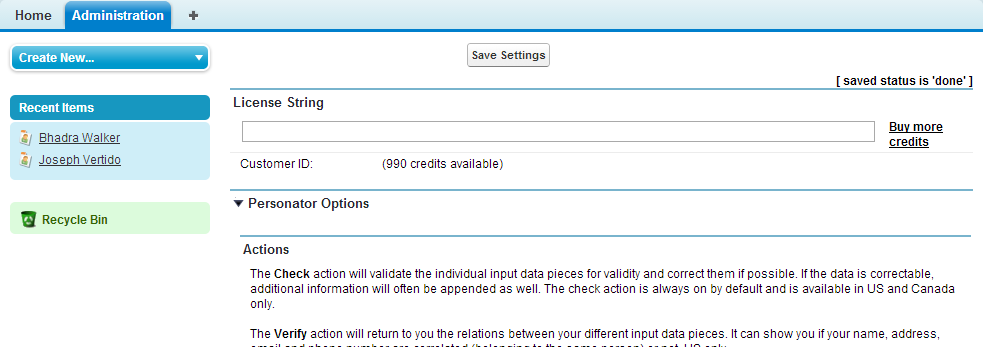
Enter a License Key
For Clean Suite for Salesforce to work, you need a valid License Key from Melissa Data. You should have received one in your email from Melissa Data. If you did not receive a License Key from Melissa Data please contact us.
2. Enter your License Key. Make sure to click Save Settings once you are done.

Advanced Mappings
Out of the box, Clean Suite for Salesforce allows support for the following Salesforce objects: Contact, Lead, and Account. If you need support for custom objects, please contact your sales rep about acquiring an Enterprise Key to unlock this functionality.
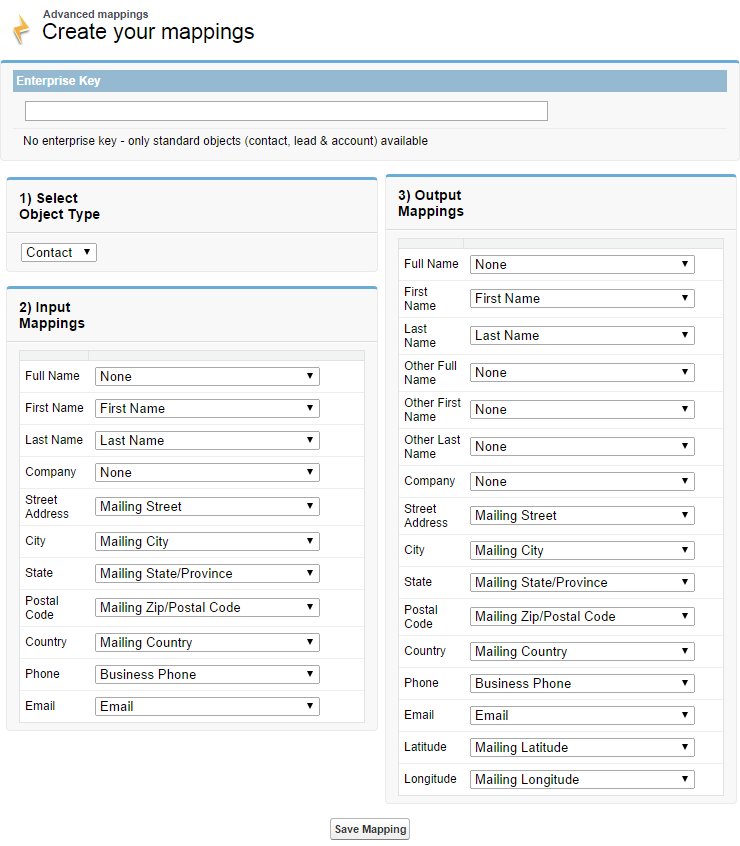
For each object, you’ll need to specify which fields contain the name, address, phone, and email. This can be configured under the Advanced Mappings tab. Advanced Mappings allows you to create input/output maps which indicates which fields per object contain the data you want to check/standardize and the fields to store the standardized results.
To set up the advanced mappings:
1. Click the Advanced Mappings tab.

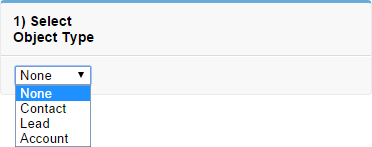
2. Select the Object Type. If you have no enterprise key, you can only choose the Contact/Lead/Account Object Types.

For advanced mapping to any salesforce object, including custom objects, you need an enterprise key. Contact Melissa Data support for more information.
3. Map your input and output mappings. The input mappings are the fields you want passed into Clean Suite. The output mappings are the fields you want Clean Suite to update after processing the input record. Once you're satisfied with the mappings, click the Save Mapping button.

Notes
- All input fields selected must be strings.
- For example, the MailingAddress field in the Contact object can cause confusion because it is actually a special compound field.
- These input/output map settings will be used in the Personator/Global Address Verification/Property components as well as the when doing batch processing. It’s very important that you review your settings to ensure everything is set correctly.
- Full/First/Last Name vs Other Full/Other First/Other Last
- Let’s say for example that one of your fields contains a name like this: John & Mary Babock. Through the Personator component, Clean Suite can parse out and break up the name into two separate names, with the first one containing John and the Other name containing Mary.
- Latitude and Longitude
- Geocoding of addresses can be done using the Clean Suite’s Personator and Global Address Verification components. In these cases, if you would like the longitude and latitude to be stored in the field of your choice, check first to see if the field you selected is capable of storing a DECIMAL or STRING.