Talend:Personator Tutorial
← Data Quality Components for Talend
| Personator Navigation | |||
|---|---|---|---|
| Overview | |||
| Tutorial | |||
| |||
| Result Codes |
The following steps will guide you in the basic usage of Personator.
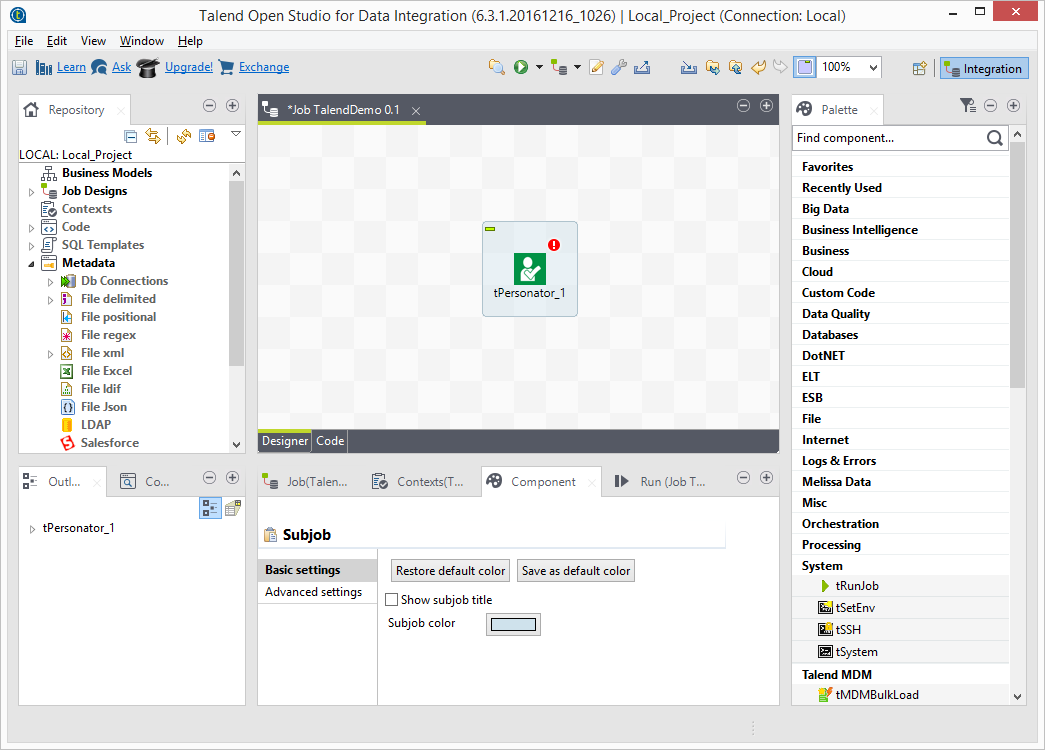
Add Component
To add Personator Component to your project, drag the component onto the Designer window. This will snap the Personator Component into your workflow space.
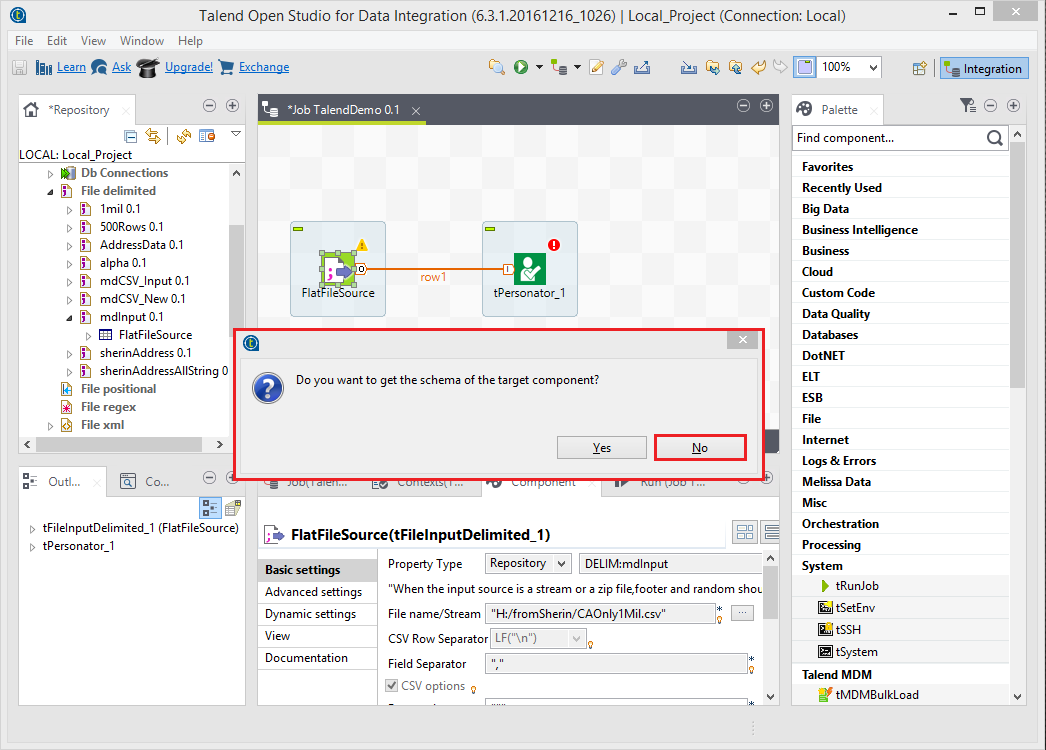
Connect Input
Select an input file to be your input data. Many formats can be used as Sources, including Excel files, flat files or Access Input data sources.
Configure Component
Double click the Personator Component and select the Component tab to bring up the interface.
Basic Settings
Click the Basic Settings button on the sidebar.
Set up the Personator Basic Settings. See Basic Settings.

Advanced Settings
Click the Advanced Settings button on the sidebar.
Set up the Personator Advanced Settings. See Advanced Settings.

Connect Output
Add an output file. Connect the respective output filter pin to the output destination.

Save Settings
Click File and select Save Selected Items to save the project
Run Project
Now, the project is ready to run.