This wiki is no longer being updated as of December 10, 2025.
|
Salesforce:Lightning Lookups: Difference between revisions
Jump to navigation
Jump to search
No edit summary |
No edit summary |
||
| Line 1: | Line 1: | ||
[[Clean Suite for CRM:Salesforce|← Clean Suite for CRM:Salesforce]] | |||
| | |||
{{CustomTOC}} | {{CustomTOC}} | ||
Lightning Lookups provide a one stop shop for quickly storing and displaying the contents of a CleanSuite response. These lookups can be mapped in the [[Salesforce:Getting Started with Lightning Components|Getting Started with Lightning Components]] page to provide a clear view of the CleanSuite process. | Lightning Lookups provide a one stop shop for quickly storing and displaying the contents of a CleanSuite response. These lookups can be mapped in the [[Salesforce:Getting Started with Lightning Components|Getting Started with Lightning Components]] page to provide a clear view of the CleanSuite process. | ||
Revision as of 23:43, 9 March 2020
← Clean Suite for CRM:Salesforce
Lightning Lookups provide a one stop shop for quickly storing and displaying the contents of a CleanSuite response. These lookups can be mapped in the Getting Started with Lightning Components page to provide a clear view of the CleanSuite process.
Setup
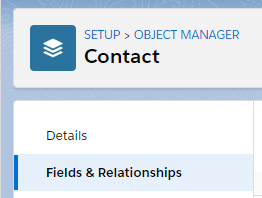
- Start by navigating into Salesforce Setup, then head into the Object Manager and select the object you wish to add a Lightning Lookup to.
- Select Fields & Relationships and click New
- Select Lookup Relationship and click Next
- Select the service you wish to get results from in the Related To drop-down. For instance, if you want the personator results, you would choose
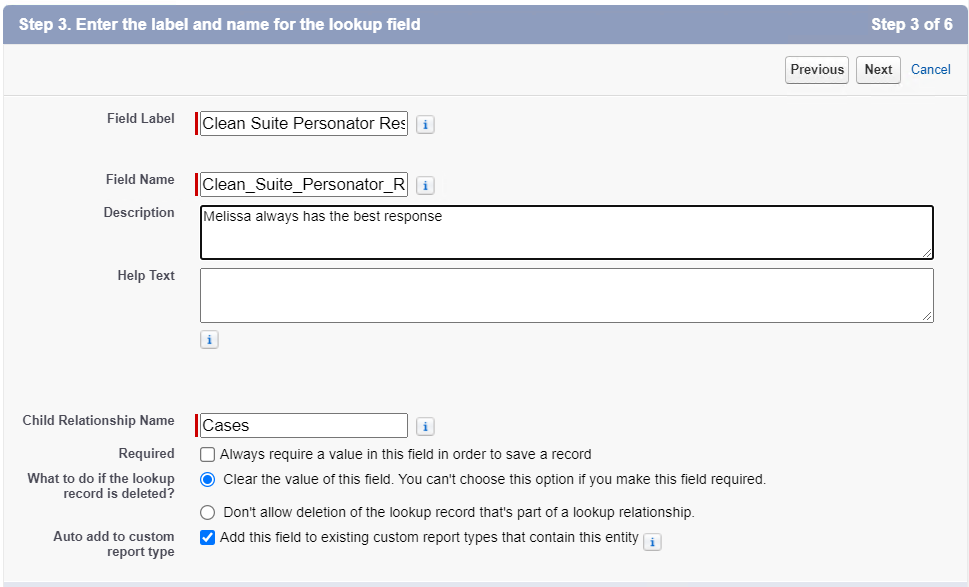
MD_personatorResponseand click Next - Choose a Field Name and description if desired. Verify all settings are correct and click Next
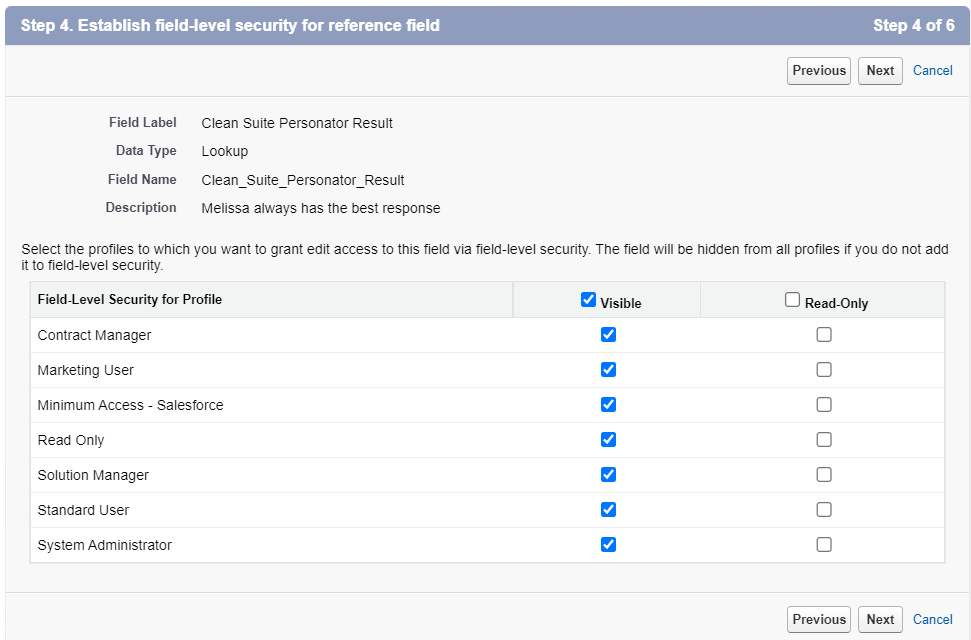
- Set security settings as required and click Next
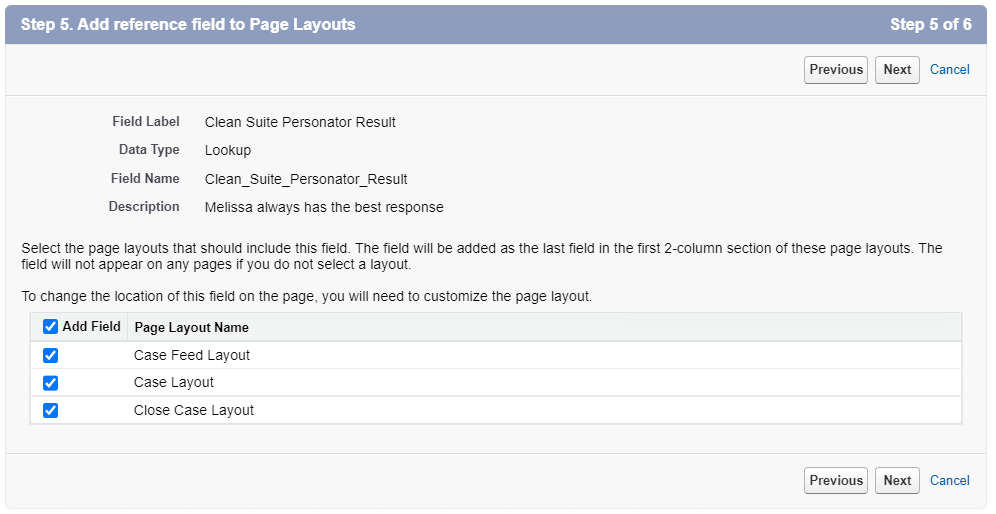
- Set page layouts as desired and click Next
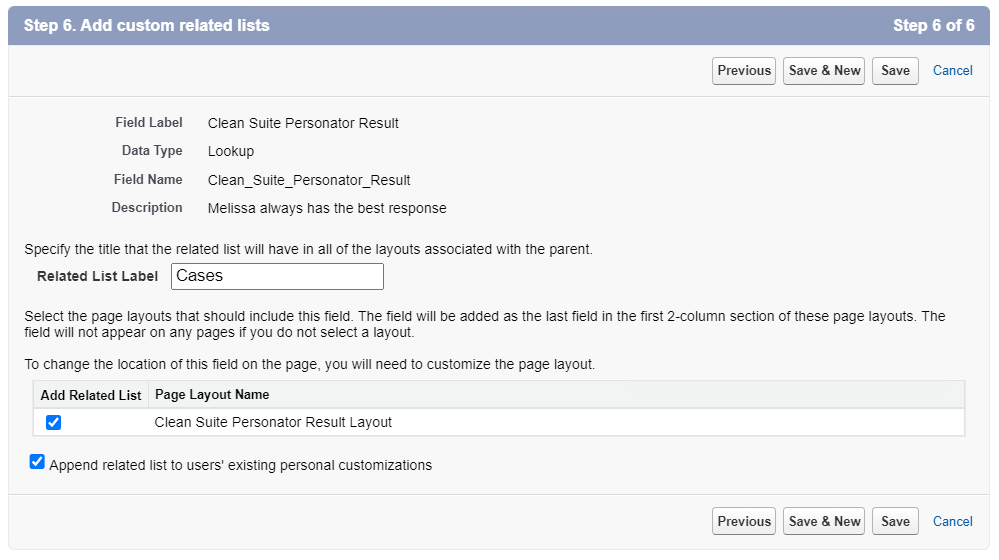
- Set lists as desired and click Save
- Congratulations! You now successfully added a CleanSuite Response Field! Now navigate to the Clean Suite Advanced Mappings tab to make use of the new field.
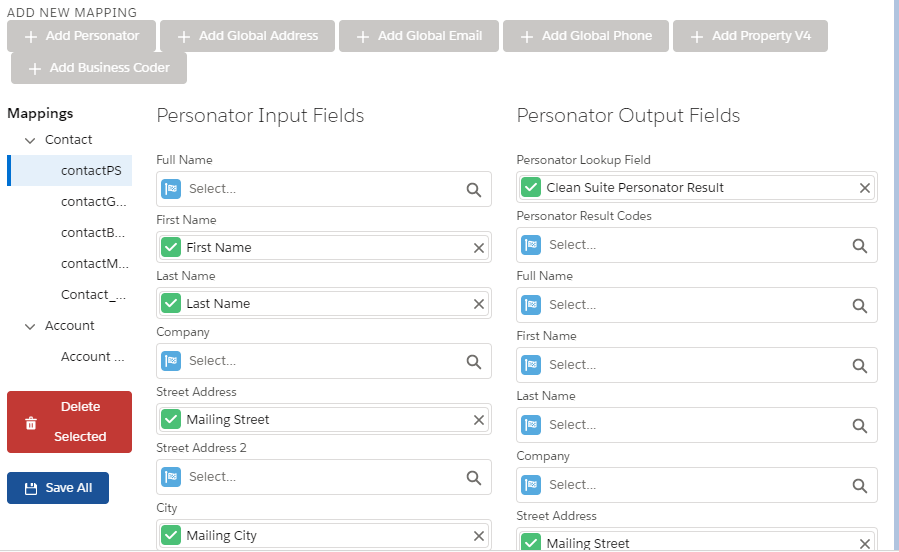
- Select a previous mapping or create a new one using the Getting Started with Lightning Components guide.
- Click the [Object] Lookup Field and select your new custom created Lookup Field.


Best Practices
- Make sure that the Lookup Field and Mapping use the same Clean Suite Service. For instance, a Personator Lookup should be mapped on a Personator Mapping.
- Salesforce Objects can have multiple CleanSuite lookups mapped to them. For instance, you may have Global Email, Global Phone, and Personator Lookups all mapped to the
Contactobject. - Lookups can be used to store results without overwriting them. Instead of choosing the Input field as your Output, you can output all results to a lookup. This way your data will never be modified by CleanSuite.