This wiki is no longer being updated as of December 10, 2025.
|
Dynamics:Personator:Installation
← Clean Suite for CRM:Dynamics
| Personator Navigation | ||
|---|---|---|
| Overview | ||
| Installation | ||
| Configuration | ||
| Custom Mapping | ||
| Tutorial | ||
| Fields | ||
|
Installing Personator
1. Begin by navigating to Settings in the top ribbon. To do this, click Sales along the top, then click Settings in the menu that drops down.

2. Click Solutions in the Customization category.

3. Click the Import button.

4. The Select Solution Package window will pop-up. Click the Choose File button.

5. A file explorer window will pop-up. Locate the plugin .zip file that contains the Personator solution. Click Open.
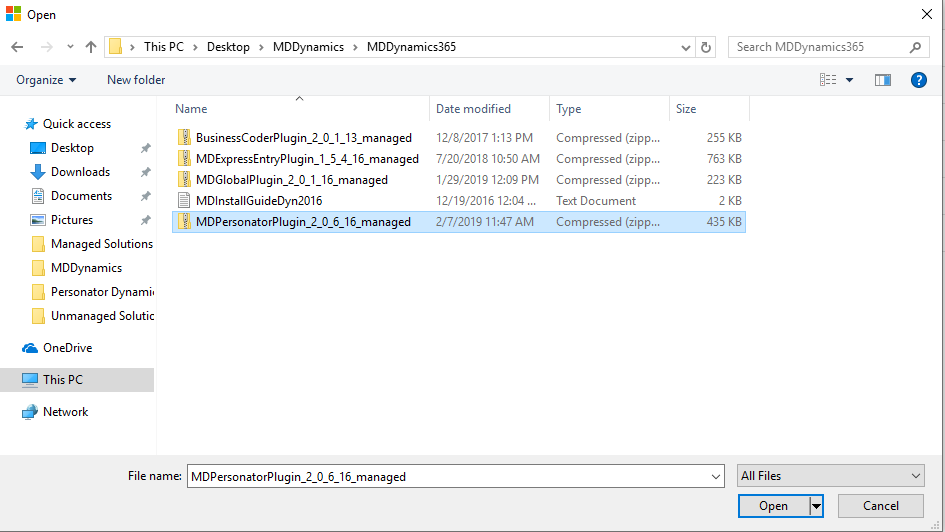
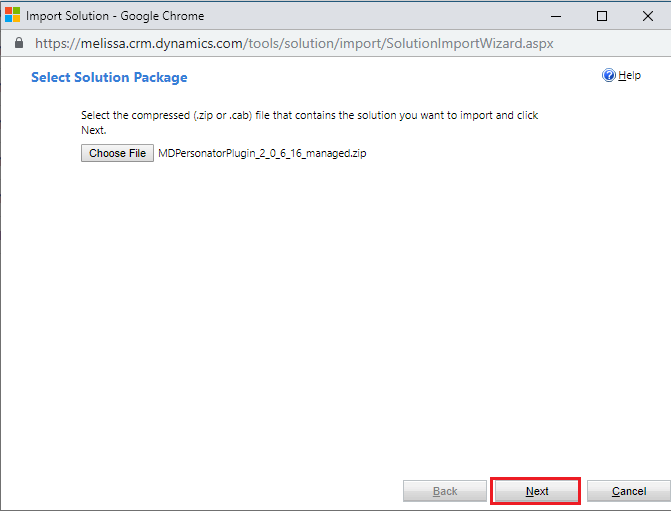
6. You should be back at the Select Solution Package window with your file listed. Now click Next.
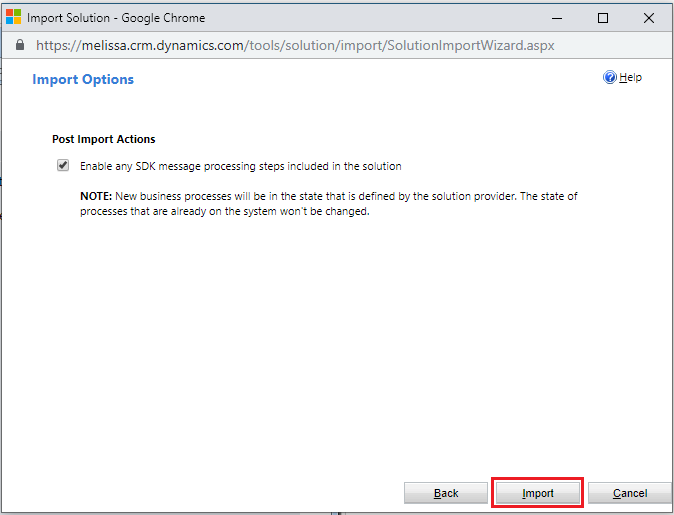
7. On the Import Options window click Import.
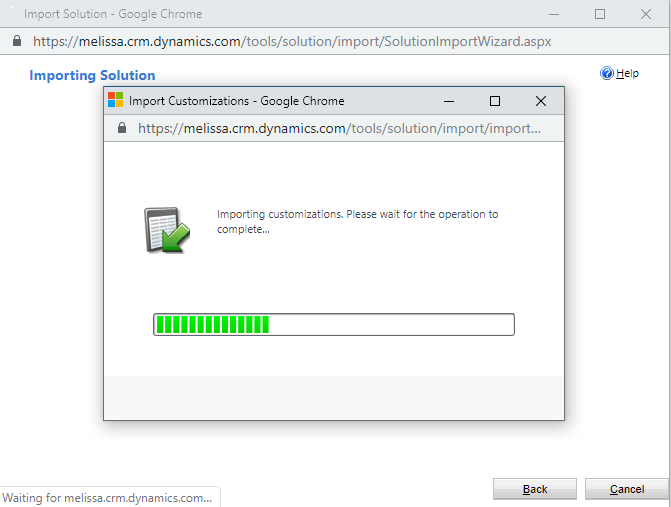
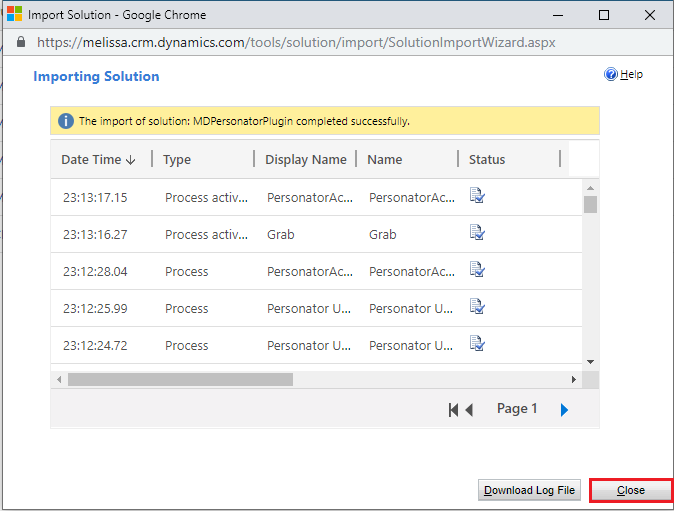
8. Wait for the solution to finish importing.
9. The installation is now complete. Click Close to finish.
To configure Personator, see Configuration.