This wiki is no longer being updated as of December 10, 2025.
|
Dynamics:Personator:Tutorial
← Clean Suite for CRM:Dynamics
| Personator Navigation | ||
|---|---|---|
| Overview | ||
| Installation | ||
| Configuration | ||
| Custom Mapping | ||
| Tutorial | ||
| Fields | ||
|
Personator Tutorial
Note: In order to use the Personator service, you must first configure the License Key and options.
This tutorial will teach you how to use the Personator service in Microsoft Dynamics CRM in the Contact entity.
1. Begin by navigating to Contacts. To do this, click Sales along the top, then click Sales in the menu that drops down. Then click Contacts under the Customers category.

2. Click New to create a new Contact.

3. Enter a first name and last name into the appropriate fields, then click Done.

4. Enter the input information. Address will be entered in this example. Click Done when you finish.

5. Click the Personator button.

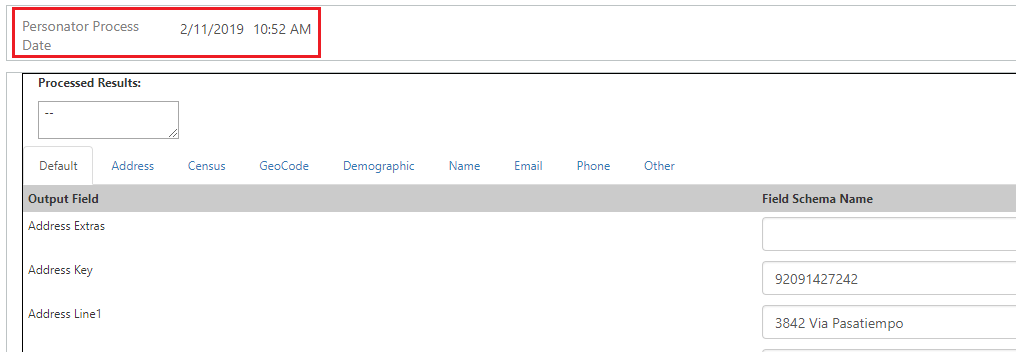
6. Verify that the Process Date field reflects the current date and time.

7. The Results field will show a list of result codes for your records. This is the first place you will look to determine what has happened with your data. For a list of result codes returned by the Personator solution, see Dynamics CRM Personator Solution Result Codes.

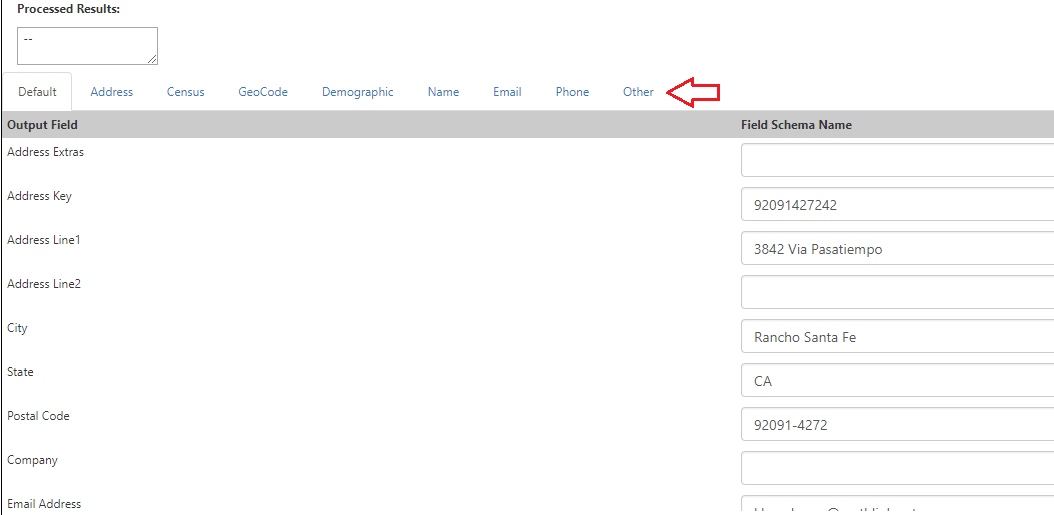
8. To see more field details, click any of the output tabs to see their respective fields.

9.Click Overwrite Input button to view possible input value replacements. Select which fields you want to overwrite, and click Confirm to finalize the changes.
