This wiki is no longer being updated as of December 10, 2025.
|
Unison:Matching
The Unison by Melissa Matching Project can match and deduplicate multiple sets of record data.
Getting Started

The Matching Project is located under Projects > Matching.
There are five main steps to a Matching Project:
Click any of the links above to jump to that section or continue below.
Title and Description
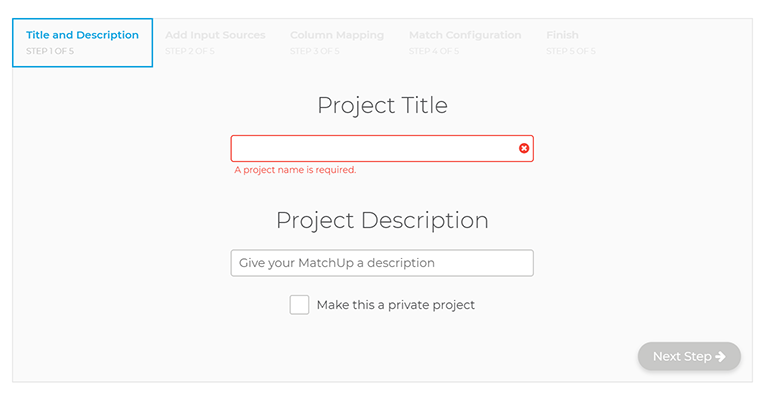
The first step to a Matching Project with Unison is to give it a name. Enter a Project Title and optionally a Project Description.
When you create these you can also check the Make this a private project box to do so.
Add Input Sources
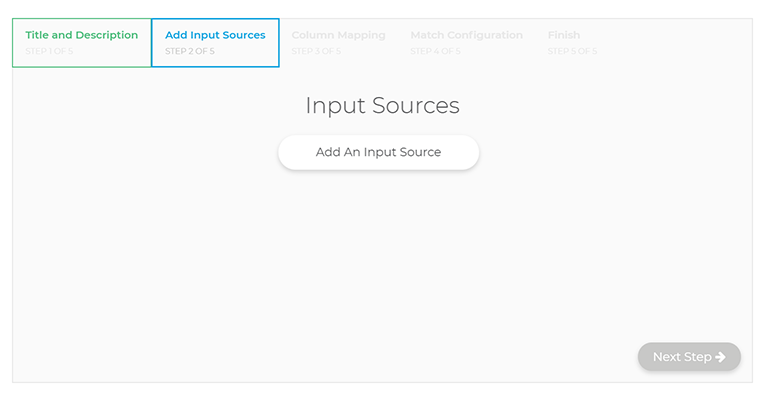
The second step is to add Input Sources.
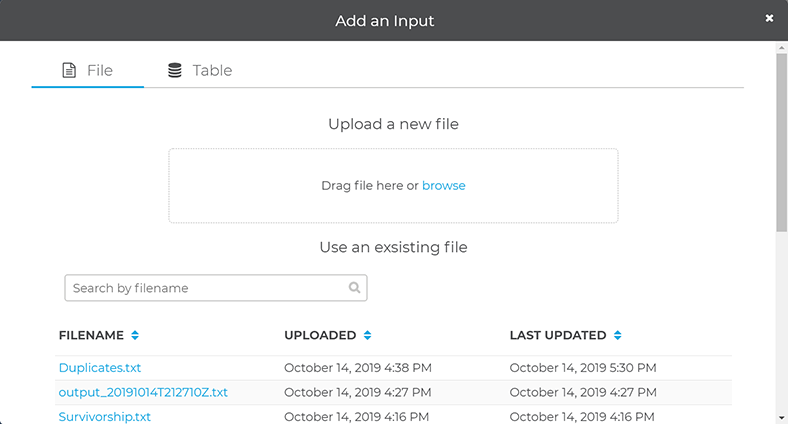
These can be from a file on your computer or one you have previously uploaded. To upload a new file, drag it to the Drag file here or broswer box or click the browse link to open a system dialog to find the file you want to upload.
Preview Input

- Once you select a file, the Preview Input window will open. This will be automatically populated based on the source file.
- You can choose which columns to use by toggling them and change their HEADER names by entering a different name.
File Settings
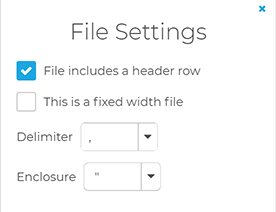
- Under File Settings you can modify the settings for your file. This includes specifying if your file has a header row, the type of delimiter, and enclosure.
Column Mapping
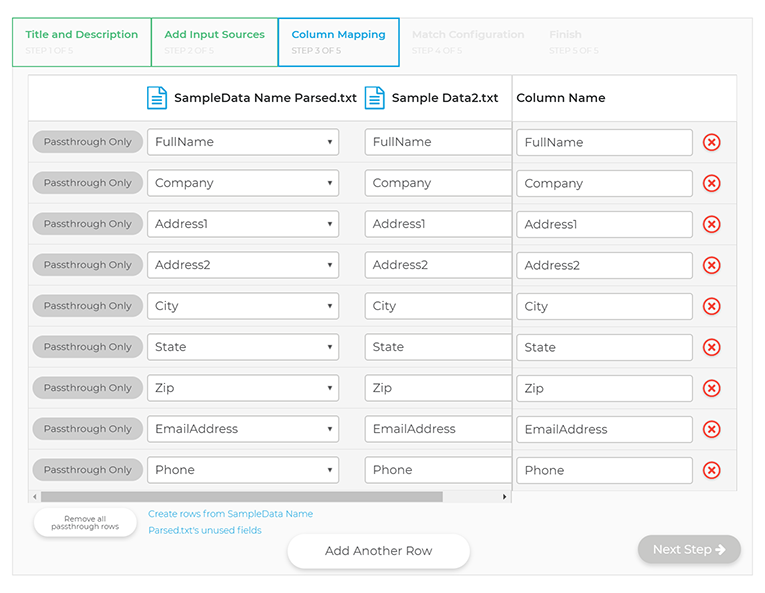
The third step is Column Mapping. Here you choose which columns from your file(s) you want to:
- Passthrough
- Use for Matching
- Exclude
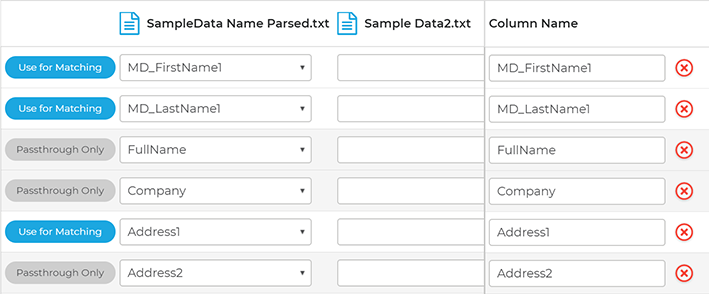
By default all columns are passthrough only. To change a column from passthrough to Use for Matching, click the Passthrough Only button to toggle it for matching.
You MUST have at least one column set as Use for Matching to continue.
You can also click the x next to a field to exclude it. This can also be done in bulk by clicking the Remove all passthrough rows button at the bottom of the window. Be aware that this button will remove ALL columns listed as Passthrough Only.
Add Another Row
- You can choose to add another row to add another row. You must choose a column name from a file you uploaded and a column name for it.
Match Configuration
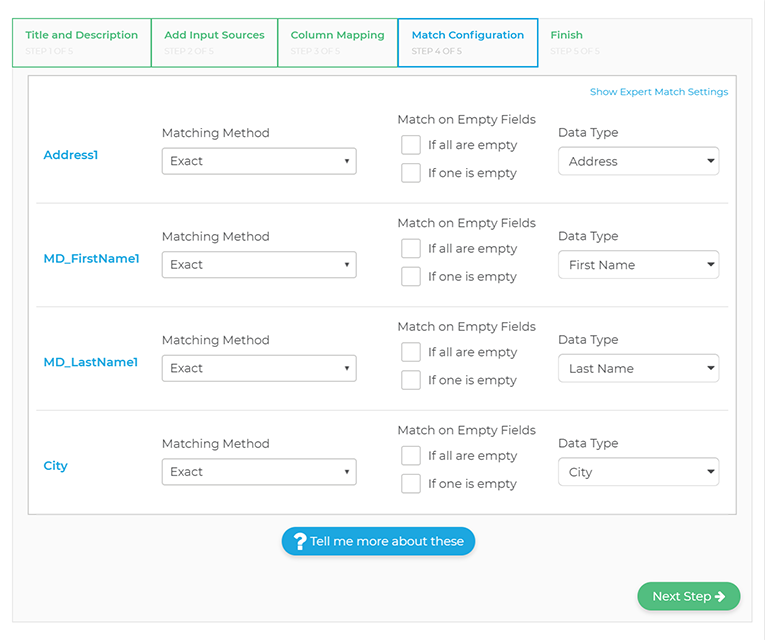
The fourth step is Match Configuration. Here you specify the matching method you want for each column you set as Use for Matching in the previous step.
It's also important to ensure the Data Type matches the colmn type.
Finish
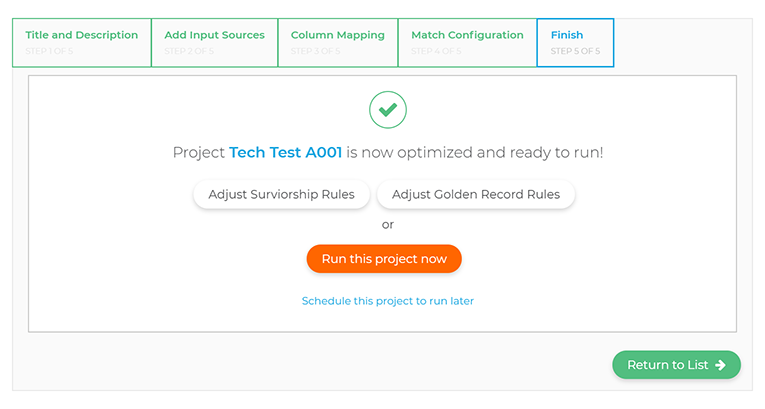
The fifth and final (or finishing?) step is to simply Run this project now. You can also Adjust Survivorship Rules or Adjust Golden Record Rules before you run the project.
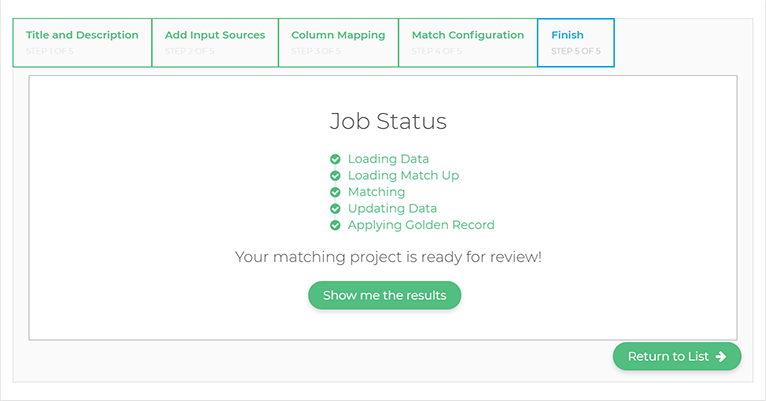
After you click Run this project now you'll see the Job Status page. This will show you the progress of your matching project as it runs.
Once it is finished running, you can click Show me the results to view the final results.
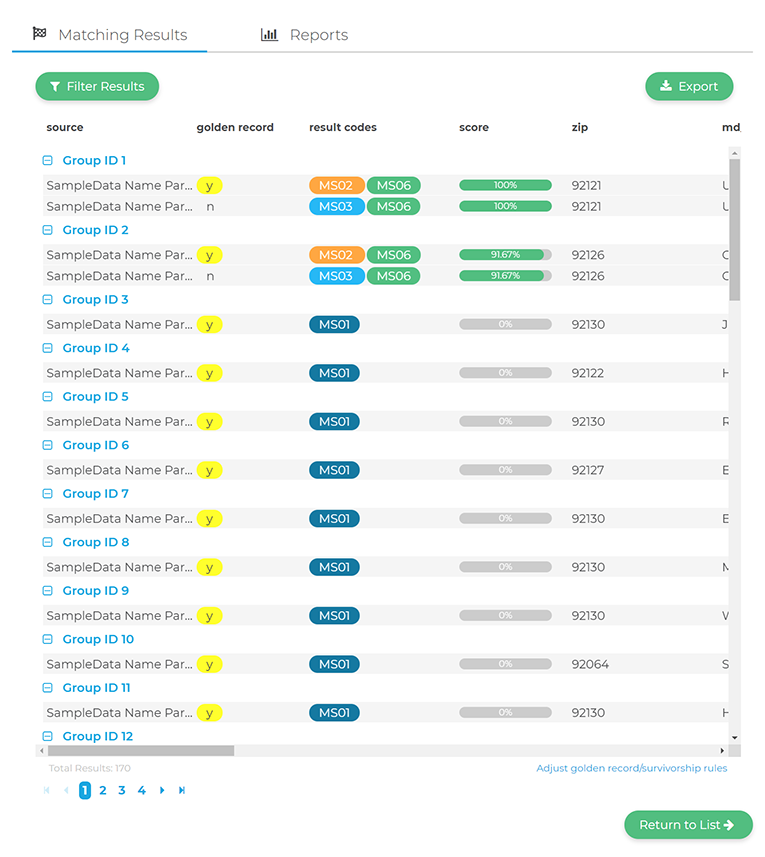
Viewing the Matching Results will show you which columns matched and what result codes they returned. Mouse over the codes to view their description.