Difference between revisions of "Unison:Administration"
| (2 intermediate revisions by the same user not shown) | |||
| Line 6: | Line 6: | ||
{{CustomTOC}} | {{CustomTOC}} | ||
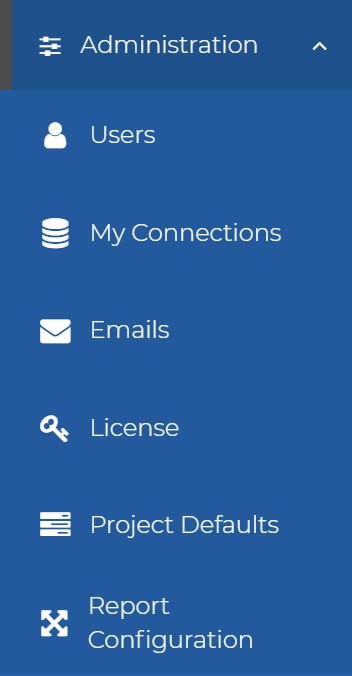
The Unison by Melissa | The Unison by Melissa Administration menu contains user information, connections to databases, email notification settings, your license with Melissa, project defaults, and report configurations. | ||
The ''' | The '''Administration''' section will only be visible and accessible to accounts with admin privileges. | ||
[[File: | [[File:UNI_Administration_Menu.jpg|link=|250px]] | ||
== | ==Users== | ||
[[File: | [[File:UNI_Administration_Users.jpg|link=|900px]] | ||
This section lists the user accounts set up on the platform. You may also create new users here by clicking the '''New User''' button. | |||
The '''Users''' page will only be visible and accessible to accounts with admin privileges. | |||
===Profile=== | |||
[[File:UNI_Administration_Users_Profile.jpg|link=|850px]] | |||
Clicking on a user name will take you to the '''My Profile''' page. | |||
<h3 class="productfield">Username</h3> | |||
:The username of the user. | |||
<h3 class="productfield">Reset Password</h3> | |||
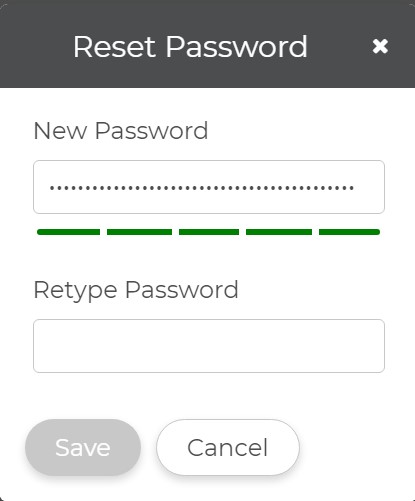
:This button will open the '''Reset Password''' window and let you change the user password. | |||
[[File:UNI_Administration_Users_Profile_Password.jpg|link=|350px]] | |||
<h3 class="productfield">Email</h3> | |||
:The email address of the user. | |||
<h3 class="productfield">First Name</h3> | |||
:The first name of the user. | |||
<h3 class="productfield">Last Name</h3> | |||
:The last name of the user. | |||
<h3 class="productfield">Time Zone</h3> | |||
:The selected time zone for the user. | |||
==LDAP Settings== | ===LDAP Settings=== | ||
:The configuration settings for the LDAP (Lightweight Directory Access Protocol) server. | :The configuration settings for the LDAP (Lightweight Directory Access Protocol) server. | ||
[[File:UNI_Administration_Users_LDAPSettings1.jpg|link=|800px]] | |||
[[File:UNI_Administration_Users_LDAPSettings2.jpg|link=|800px]] | |||
<h3 class="productfield">LDAP | |||
<h3 class="productfield">LDAP Connection Settings</h3> | |||
;Host Address | |||
:The LDAP host server address. | :The LDAP host server address. | ||
;Host Port | |||
:The port the LDAP host server. | |||
;TTL | |||
:The LDAP TTL (Time To Live). This specifies the duration, in seconds, the server will store the records until they are revalidated. For example: "3000". | |||
<h3 class="productfield">LDAP Binding User</h3> | |||
:The LDAP Binding User credentials. | |||
;Username | |||
:The LDAP | :The LDAP Binding User name. | ||
;Password | |||
:The LDAP Binding User password. | |||
<h3 class="productfield">LDAP Distinguished Name (DN)</h3> | |||
;Base DN | |||
:This specifies the domain by using DC (Domain Components). For example: "DC=melissadata,DC=com". | |||
;User DN | |||
: | :This specifies the server by using OU (Organizational Unit). For example: "OU=mdserver". | ||
;RDN Key | |||
:The LDAP User Relative Distinguished Name Key. For example: "CN=". | |||
;Admin Group | |||
:The LDAP Admin Group DN (Distinguished Name). This specifies admin group names. For example: "OU=AdminGroup1,OU=AdminGroup2". | |||
;User Group DN | |||
:The LDAP User Group DN (Distinguished Name). This specifies user group names. For example: "OU=UserGroup1,OU=UserGroup2". | :The LDAP User Group DN (Distinguished Name). This specifies user group names. For example: "OU=UserGroup1,OU=UserGroup2". | ||
<h3 class="productfield">LDAP | <h3 class="productfield">LDAP Use Attributes</h3> | ||
:The | ;Attribute Username | ||
:The username of the account. For example: "sAMAccountName=Username". | |||
;Attribute First Name | |||
:The First Name associated with the user account. For example: "givenName=FirstName". | |||
;Attribute Last Name | |||
:The Last Name SN (Surname) associated with the user account. For example: "SN=LastName". | |||
;Attribute Email | |||
:The LDAP Email. This specifies the email address. For example: "mail=email@domain.com". | |||
<h3 class="productfield">LDAP Test</h3> | |||
;User Credentials | |||
:To test your LDAP, enter a Test Username and Test Password and click '''Verify'''. You can then refer to '''Status''' for more details on the test. | |||
;Status | |||
: | :This will show the test status of a basic connection, basic authentication, and user retrieval. | ||
==My Connections== | |||
: | [[File:UNI_Administration_Connections.jpg|link=|800px]] | ||
This section displays the connections to databases you set up. You may also create new connections here by clicking the '''Create New Connection''' button. | |||
<h3 class="productfield">Create a New Connection</h3> | |||
[[File:UNI_Administration_Connections_CreateNew.jpg|link=|500px]] | |||
;Name | |||
:The | :The unique name of this database connection that will allow you to quickly identify connections. | ||
;Vendor | |||
:We currently support three vendors MSSQL, MYSQL, and Oracle. Please choose the vendor for your database. | |||
;Host | |||
: | :For the host you can use either a host IP address(ie 197.0.0.1), or host domain name(ie computer_name.domain_segment[....domain_segment]). | ||
;Port | |||
:When a vendor is selected we automatically populate the port with that vendors default port. If your connection uses a port other than the vendors default please correct your port number. | |||
;Database | |||
: | :The name of the database you wish to establish a connection to. | ||
;Username | |||
:The username of the server you are trying to connect to. | |||
;Password | |||
:The password of the server you are trying to connect to. | |||
==Emails== | |||
[[File:UNI_Administration_Emails1.jpg|link=|900px]] | |||
<h3 class="productfield">SMTP Settings</h3> | |||
;SMTP Host | |||
:The Simple Mail Transfer Protocol (SMTP) host address. | |||
;SMTP Port | |||
:The | :The port the SMTP host listens on. | ||
;SMTP Timeout | |||
:The SMTP timeout in seconds. | |||
;Use TLS | |||
: | :Transport Layer Security (TLS) will encrypt the SMTP protocol. | ||
<h3 class="productfield"> | <h3 class="productfield">Credentials</h3> | ||
:The | :SMTP Username | ||
:The username for the SMTP server. | |||
;SMTP Password | |||
:The password for the user on the SMTP server. | |||
<h3 class="productfield">Email Boilerplate</h3> | |||
;Email From Address | |||
:The "From" email address that any boilerplate emails will appear to be sent from. | |||
;Email Subject Key | |||
:The | :The subject that will prepend any boilerplate email notifications. | ||
= | <h3 class="productfield">Validation</h3> | ||
;Email To Address | |||
:The email to test for verification. | |||
<h3 class="productfield">Status</h3> | |||
The email verification status will be displayed here. | |||
<h3 class="productfield">Enable</h3> | |||
[[File:UNI_Administration_Emails2.jpg|link=|800px]] | |||
;Enable SMTP | |||
: | :Select this to enable the Simple Mail Transfer Protocl (SMTP) server to generate email notifications for users. | ||
;Job Notifications | |||
:Select what Job States you want users to receive notifications for. An unchecked box indicates no notifications will be sent for that job event. | |||
;User Notifications | |||
: | :Select what changes to user accounts you want users to be sent email notifications about. | ||
;Email Attributes | |||
:;Base URL for Embedded Email Links | |||
::The Base URL base location of your URL which can be changed depending on your needs. For example, you can change the base URL from http://generic:4200 to http://MyCompanyName:4200, you can also change the port number (in this case 4200) if needed. | |||
:;Embedded Support Email Address | |||
: | ::When Unison sends out generated emails this is the email address users will be instructed to follow up with for additional information. | ||
== | ==License== | ||
[[File: | [[File:UNI_Administration_License.jpg|link=|700px]] | ||
This section displays your license details, including the expiration date. | This section displays your license details, including the expiration date. | ||
| Line 151: | Line 228: | ||
<h3 class="productfield">License Expiration Date</h3> | <h3 class="productfield">License Expiration Date</h3> | ||
:The date your license expires. | :The date your license expires. | ||
==Project Defaults== | |||
[[File:UNI_Administration_ProjectDefaults.jpg|link=|800px]] | |||
<h3 class="productfield">Project Privacy</h3> | |||
Check this box to set projects as private by default. | |||
<h3 class="productfield">Address Task</h3> | |||
;Task Source Type | |||
:Set the task source type as US or Global. | |||
==Report Configuration== | |||
<h3 class="productfield">Default Reports</h3> | |||
[[File:UNI_Administration_ReportConfiguration.jpg|link=|800px]] | |||
:The default reports for each job type are listed here, indicating the rank, chart color, category, and description. | |||
<h3 class="productfield">Custom Reports</h3> | |||
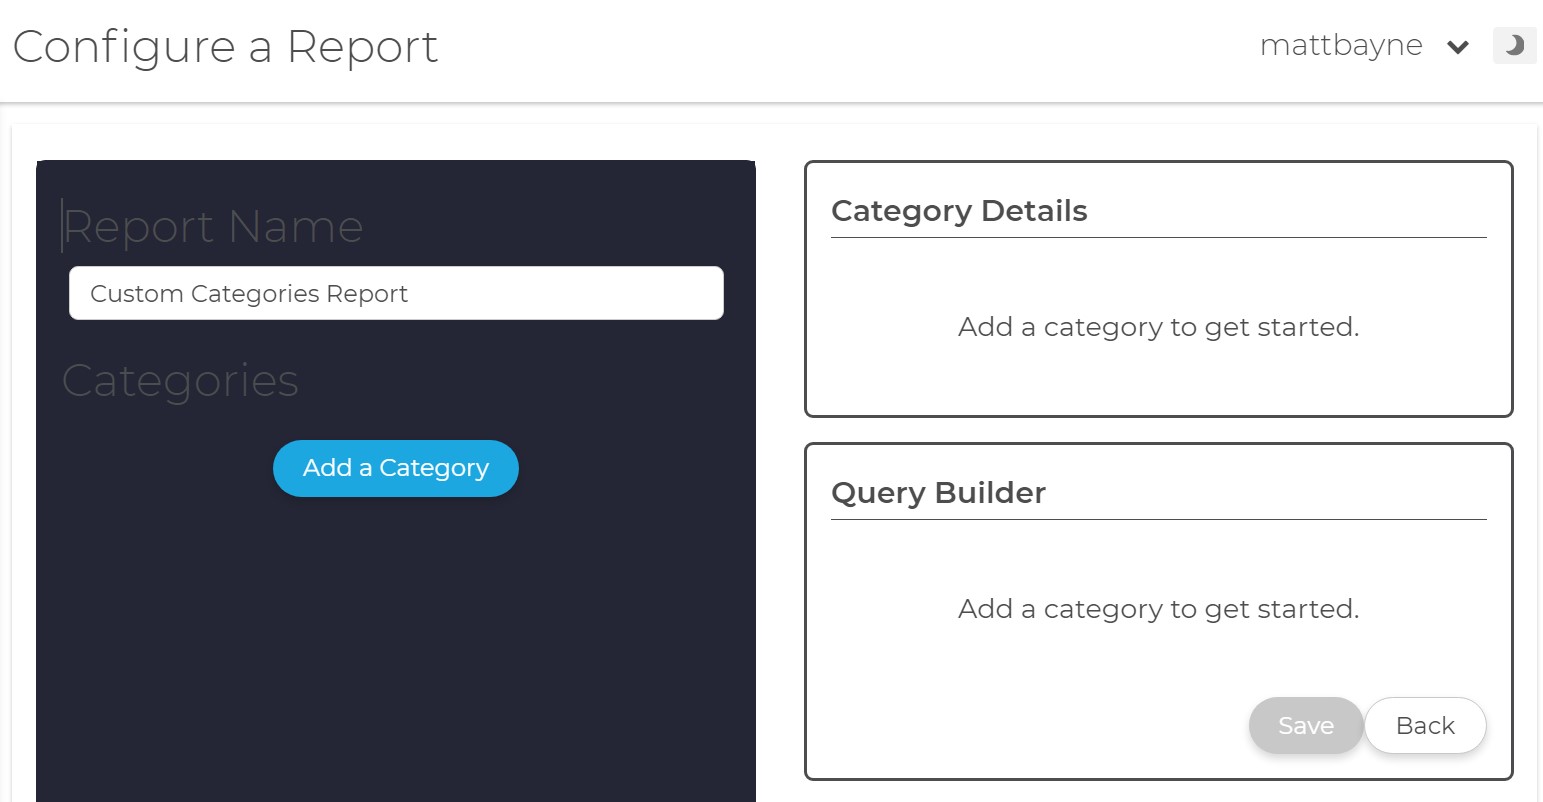
[[File:UNI_Administration_ReportConfiguration_CreateNew.jpg|link=|700px]] | |||
:Custom reports are listed here. If you want to make a new custom report, click the '''Create New''' button. | |||
;Report Name | |||
:Give your custom category report a name here. | |||
;Categories | |||
:Click '''Add a Category''' to add a new category, and customize it under '''Category Details'''. | |||
;Category Details | |||
:First, a category has to be added from under '''Categories'''. Once that is done, the new category can be named here and given a custom color. | |||
;Query Builder | |||
:Use the query builder to add rules to specify what result codes you want to define your category. | |||
==About== | ==About== | ||
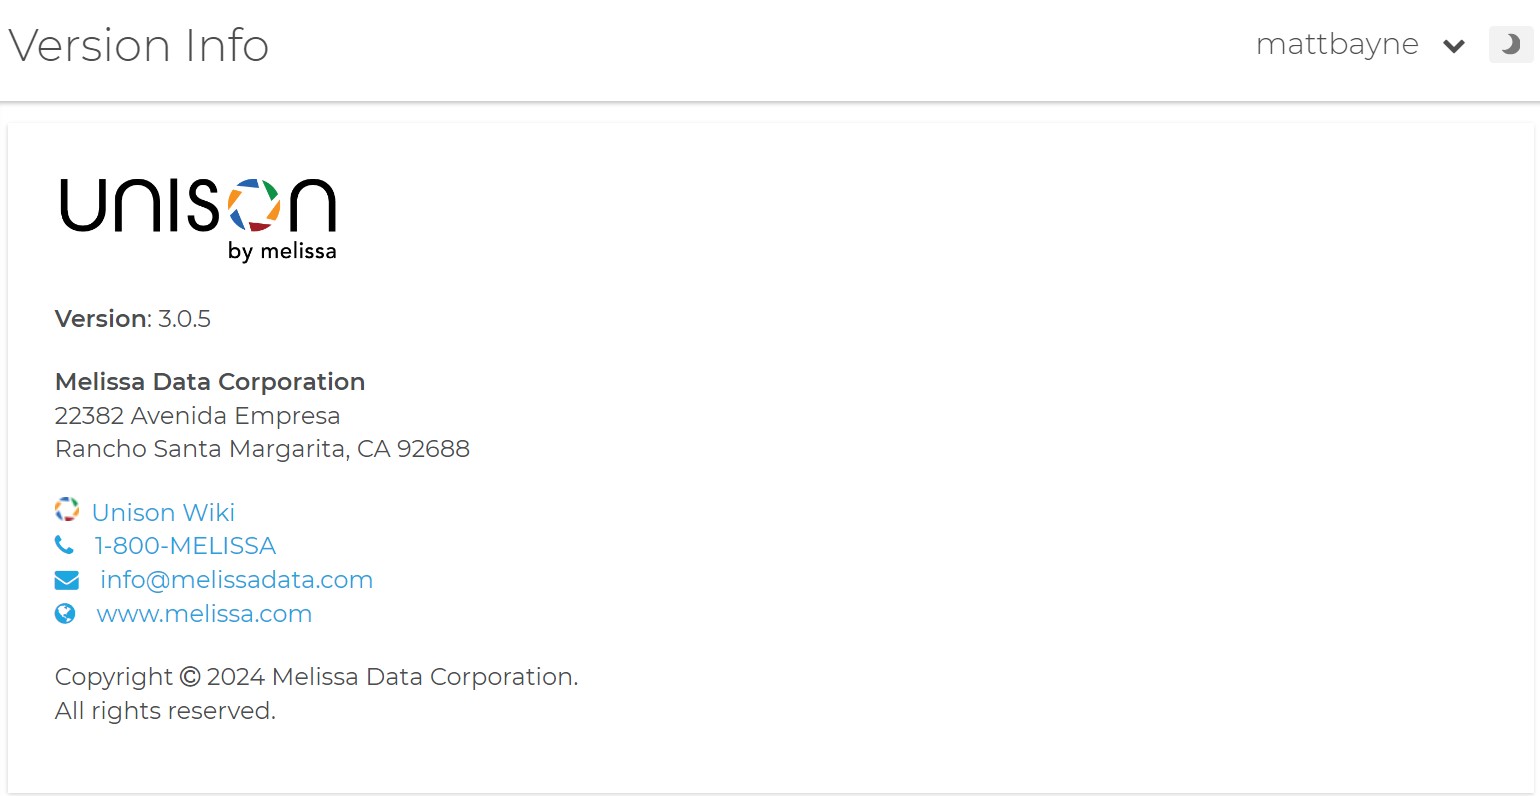
[[File: | [[File:UNI_About.jpg|link=|800px]] | ||
This section displays the version information for your install as well as contact information for Melissa. | This section displays the version information for your install as well as contact information for Melissa. | ||
Latest revision as of 19:05, 14 March 2024
The Unison by Melissa Administration menu contains user information, connections to databases, email notification settings, your license with Melissa, project defaults, and report configurations.
The Administration section will only be visible and accessible to accounts with admin privileges.
Users
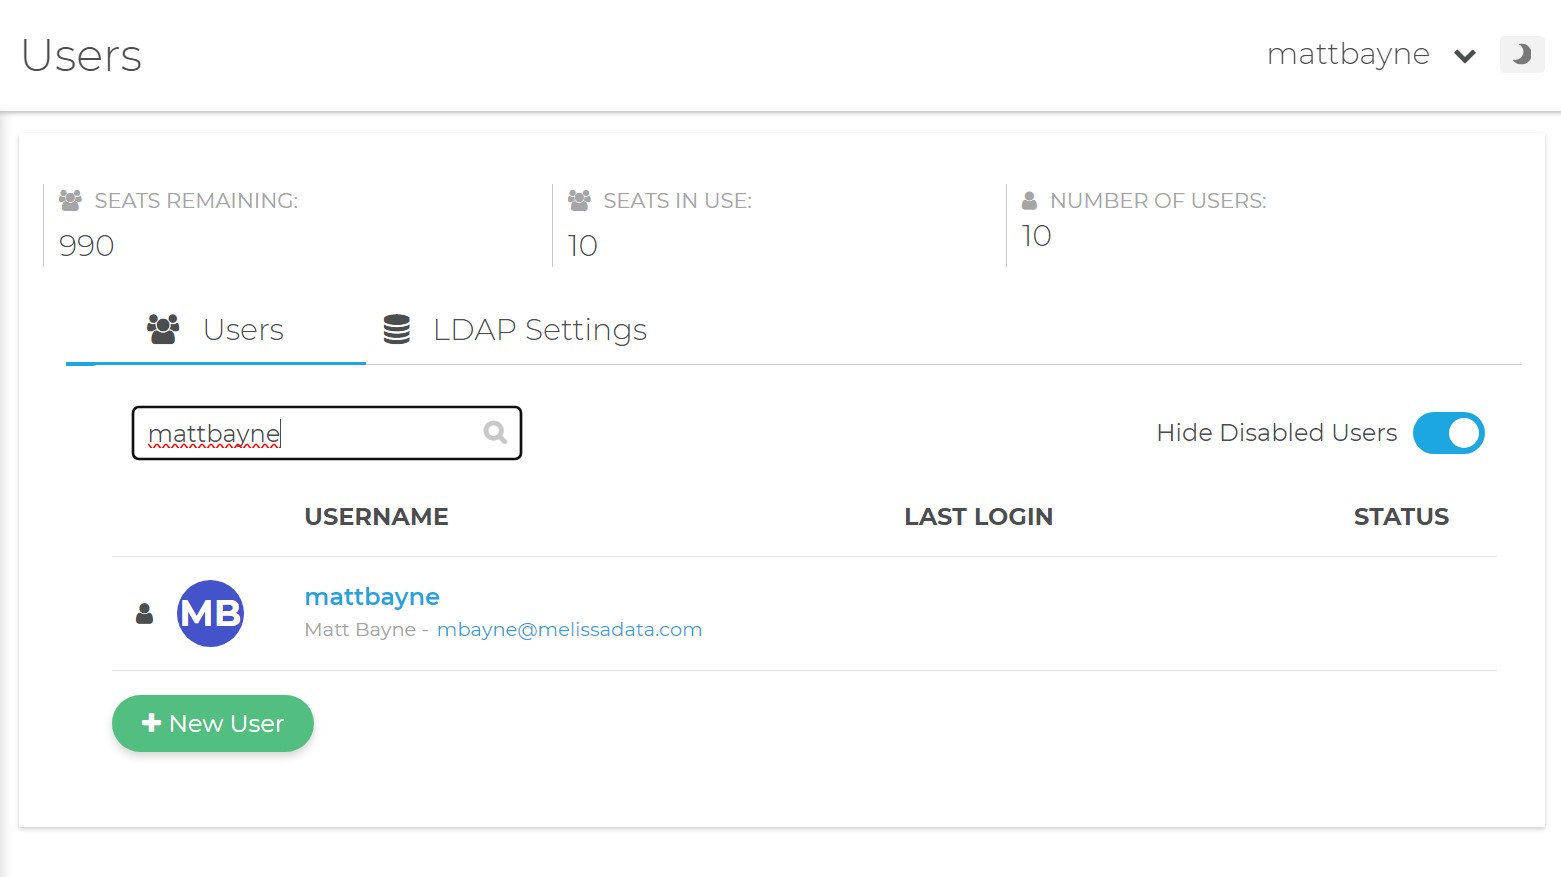
This section lists the user accounts set up on the platform. You may also create new users here by clicking the New User button.
The Users page will only be visible and accessible to accounts with admin privileges.
Profile
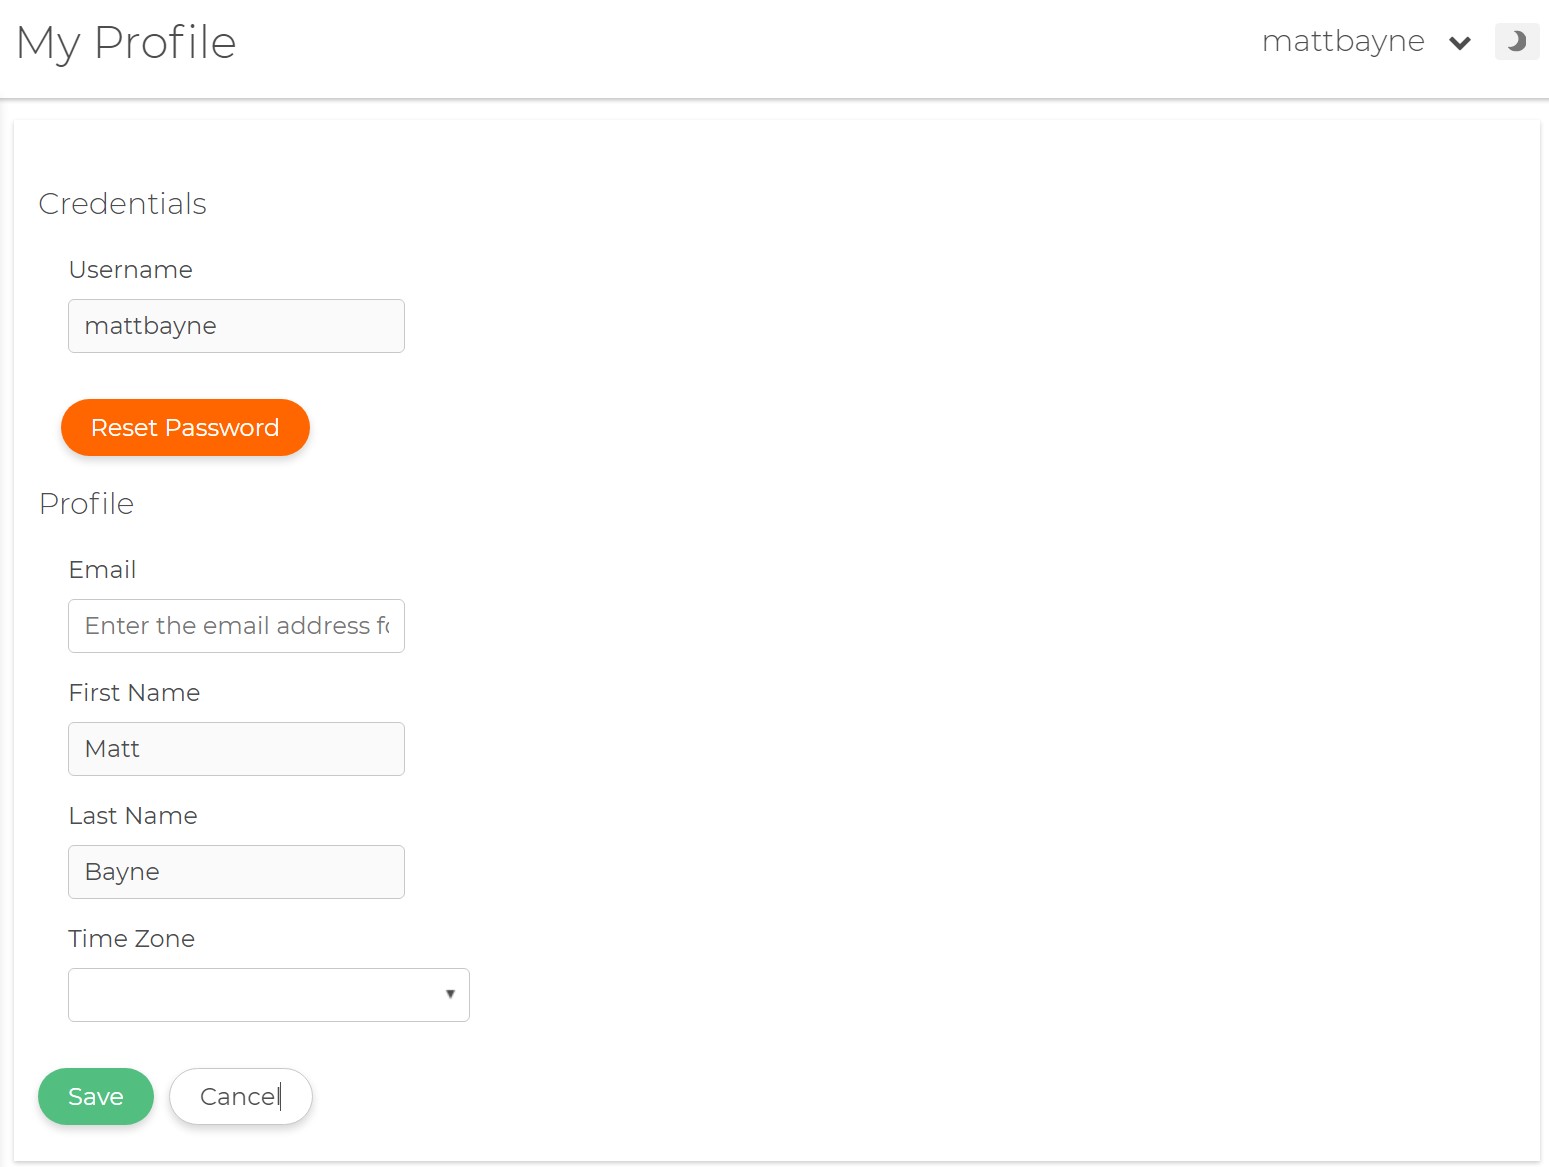
Clicking on a user name will take you to the My Profile page.
Username
- The username of the user.
Reset Password
- This button will open the Reset Password window and let you change the user password.
- The email address of the user.
First Name
- The first name of the user.
Last Name
- The last name of the user.
Time Zone
- The selected time zone for the user.
LDAP Settings
- The configuration settings for the LDAP (Lightweight Directory Access Protocol) server.
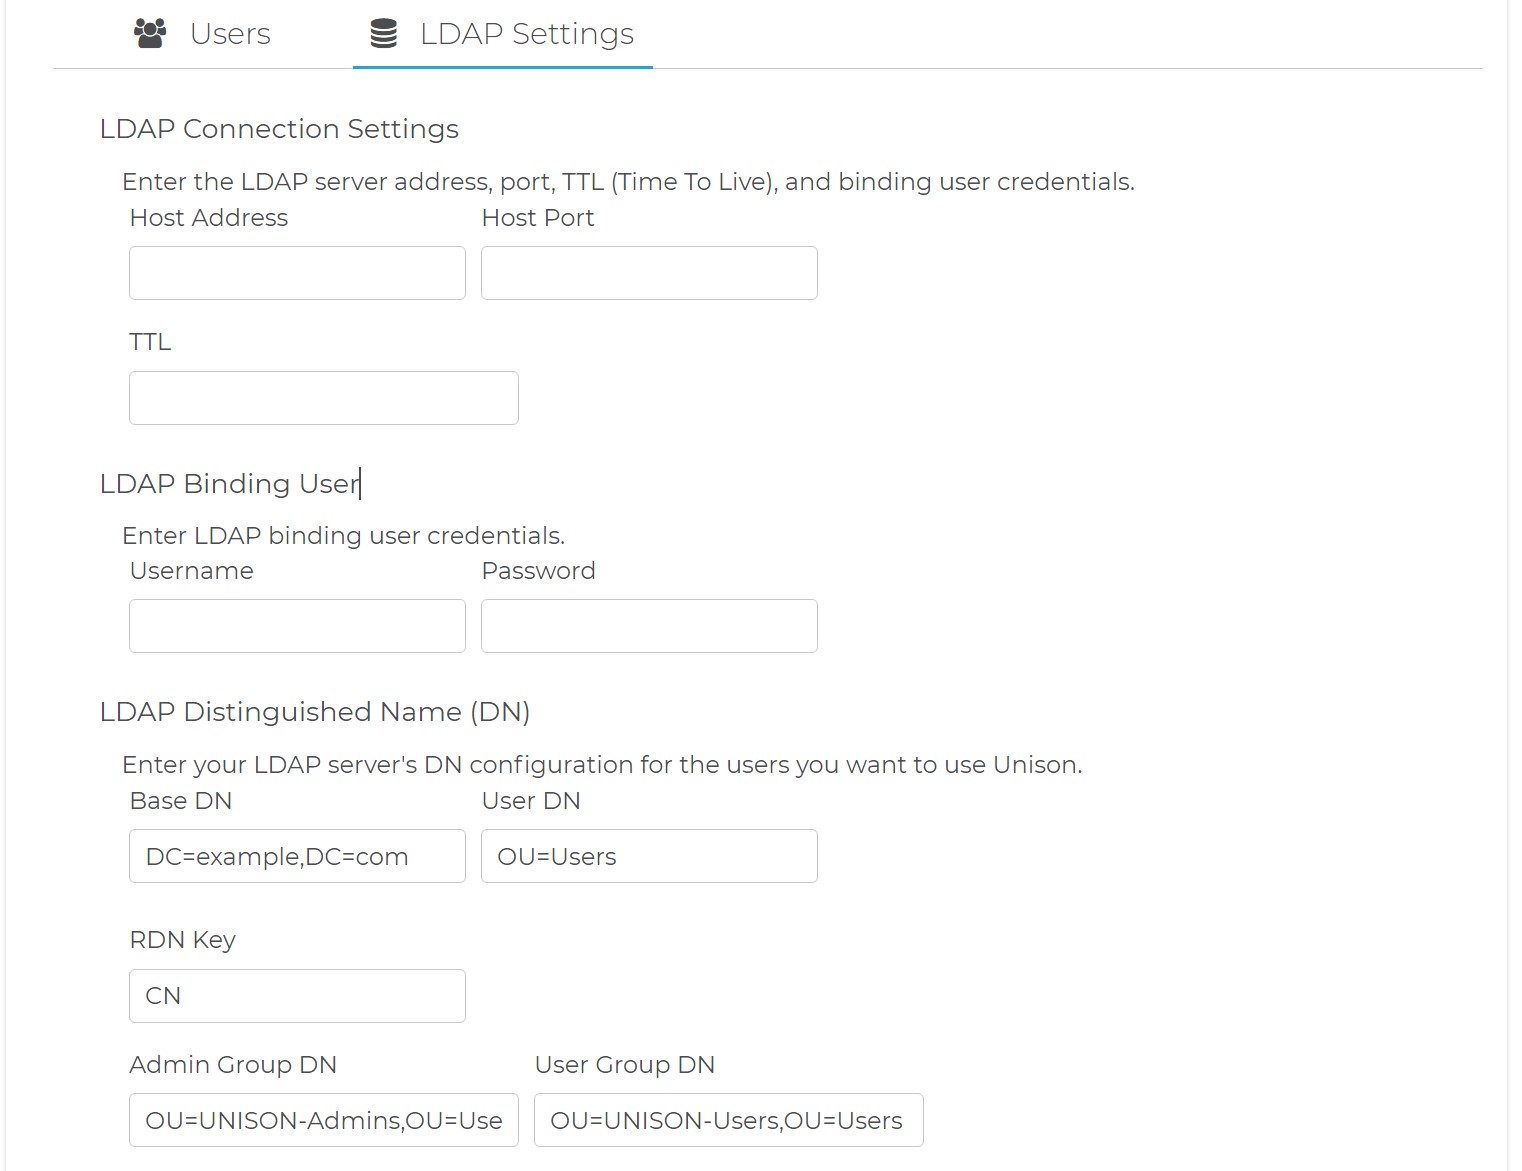
LDAP Connection Settings
- Host Address
- The LDAP host server address.
- Host Port
- The port the LDAP host server.
- TTL
- The LDAP TTL (Time To Live). This specifies the duration, in seconds, the server will store the records until they are revalidated. For example: "3000".
LDAP Binding User
- The LDAP Binding User credentials.
- Username
- The LDAP Binding User name.
- Password
- The LDAP Binding User password.
LDAP Distinguished Name (DN)
- Base DN
- This specifies the domain by using DC (Domain Components). For example: "DC=melissadata,DC=com".
- User DN
- This specifies the server by using OU (Organizational Unit). For example: "OU=mdserver".
- RDN Key
- The LDAP User Relative Distinguished Name Key. For example: "CN=".
- Admin Group
- The LDAP Admin Group DN (Distinguished Name). This specifies admin group names. For example: "OU=AdminGroup1,OU=AdminGroup2".
- User Group DN
- The LDAP User Group DN (Distinguished Name). This specifies user group names. For example: "OU=UserGroup1,OU=UserGroup2".
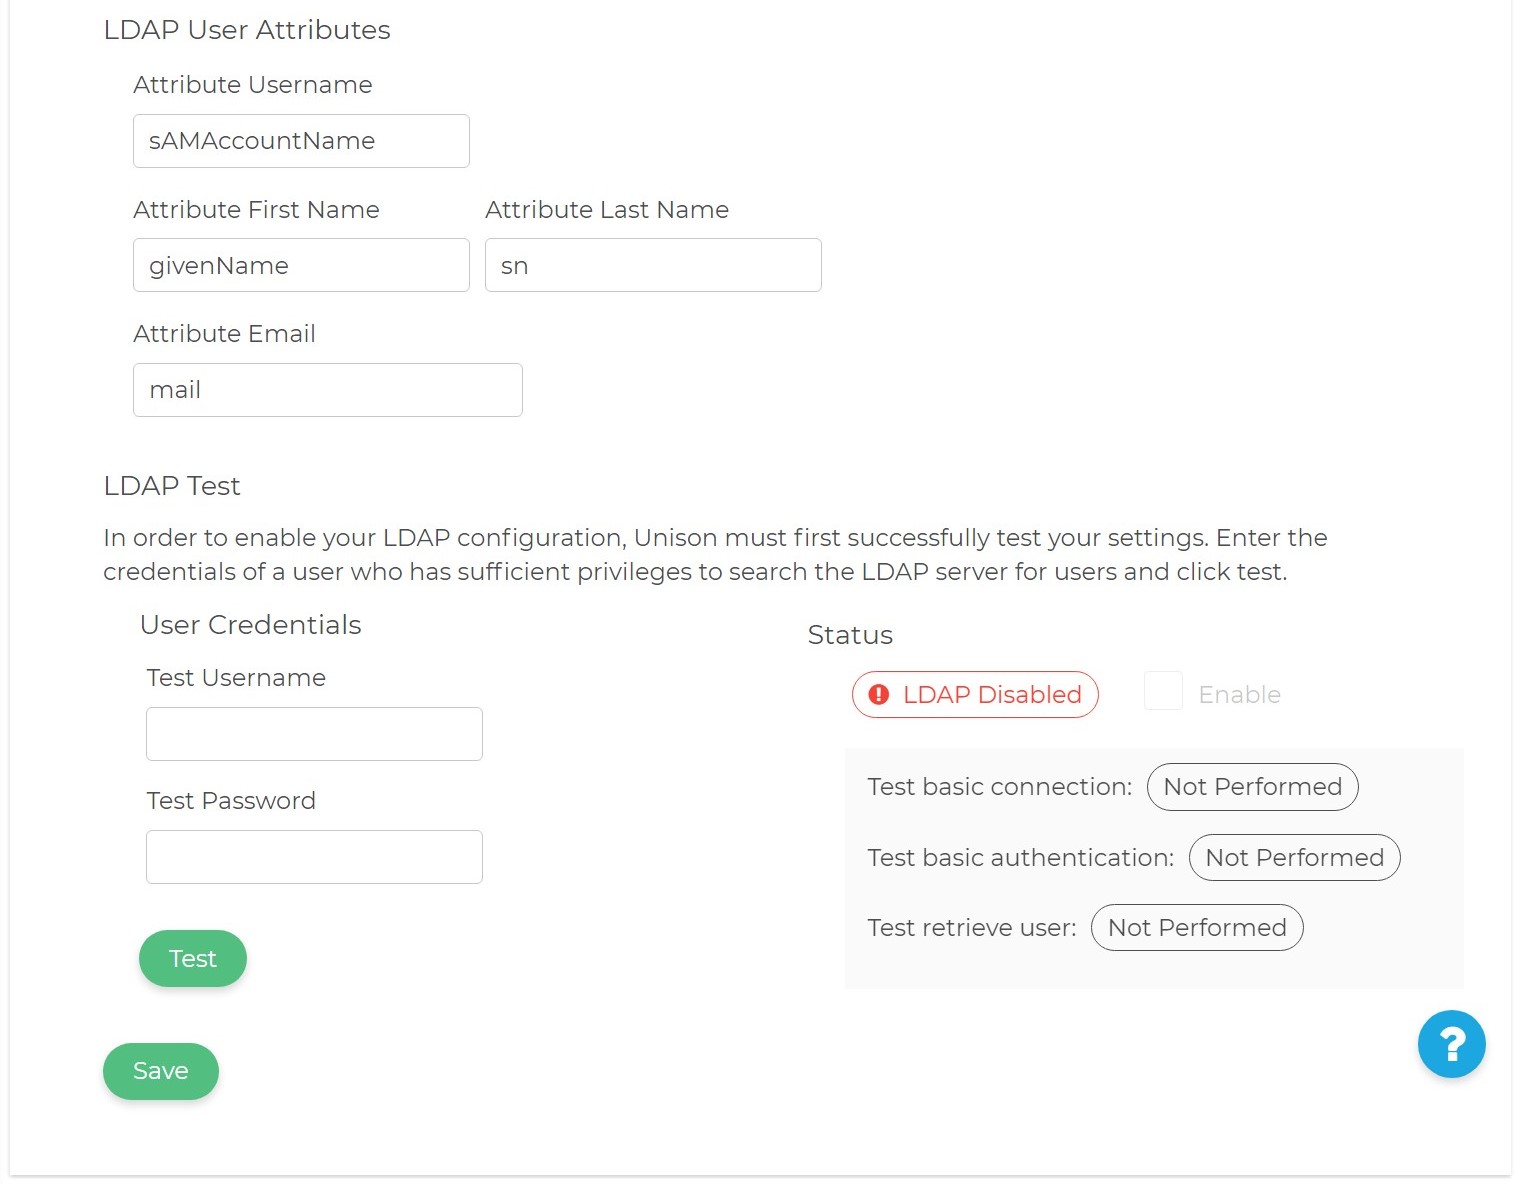
LDAP Use Attributes
- Attribute Username
- The username of the account. For example: "sAMAccountName=Username".
- Attribute First Name
- The First Name associated with the user account. For example: "givenName=FirstName".
- Attribute Last Name
- The Last Name SN (Surname) associated with the user account. For example: "SN=LastName".
- Attribute Email
- The LDAP Email. This specifies the email address. For example: "mail=email@domain.com".
LDAP Test
- User Credentials
- To test your LDAP, enter a Test Username and Test Password and click Verify. You can then refer to Status for more details on the test.
- Status
- This will show the test status of a basic connection, basic authentication, and user retrieval.
My Connections
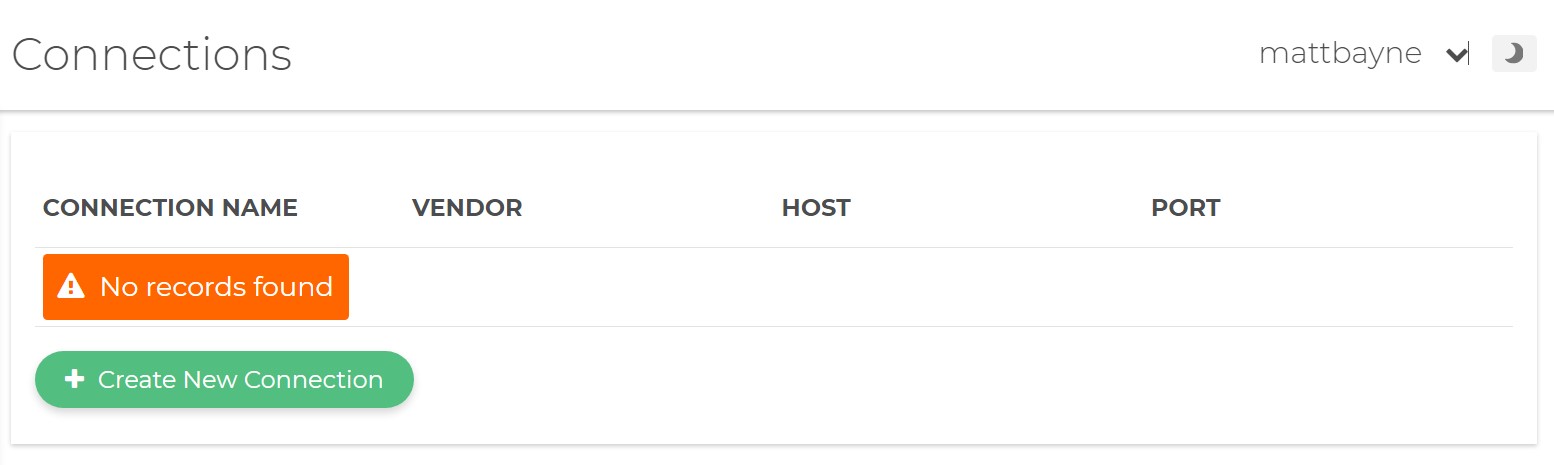
This section displays the connections to databases you set up. You may also create new connections here by clicking the Create New Connection button.
Create a New Connection
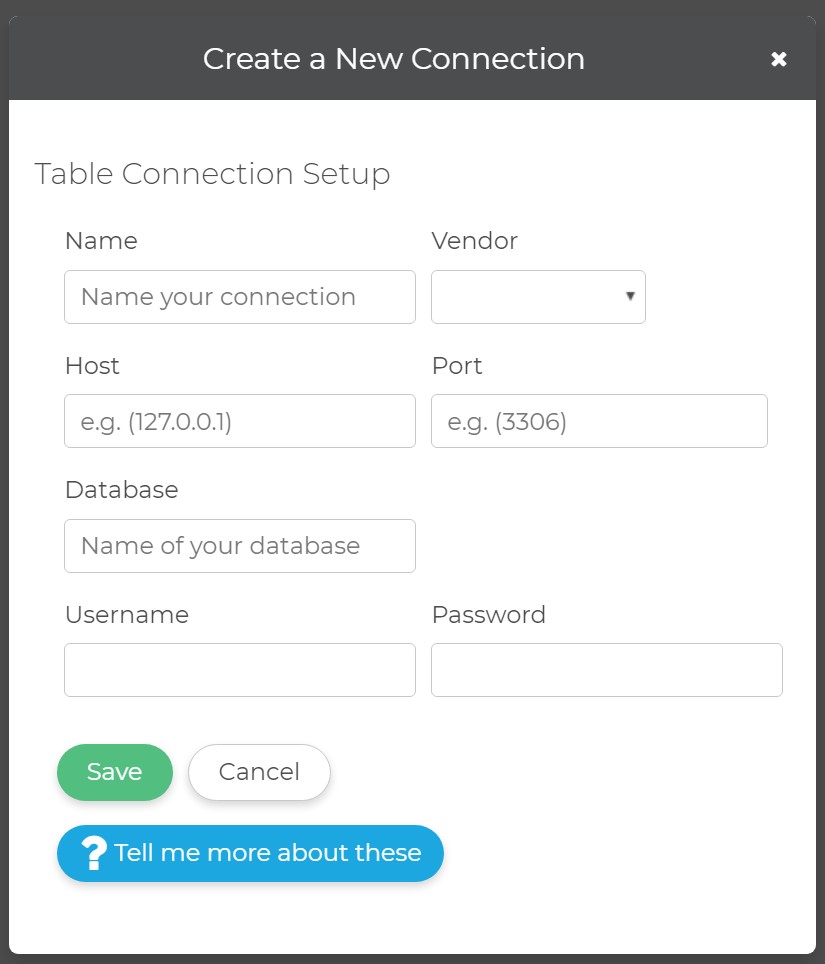
- Name
- The unique name of this database connection that will allow you to quickly identify connections.
- Vendor
- We currently support three vendors MSSQL, MYSQL, and Oracle. Please choose the vendor for your database.
- Host
- For the host you can use either a host IP address(ie 197.0.0.1), or host domain name(ie computer_name.domain_segment[....domain_segment]).
- Port
- When a vendor is selected we automatically populate the port with that vendors default port. If your connection uses a port other than the vendors default please correct your port number.
- Database
- The name of the database you wish to establish a connection to.
- Username
- The username of the server you are trying to connect to.
- Password
- The password of the server you are trying to connect to.
Emails
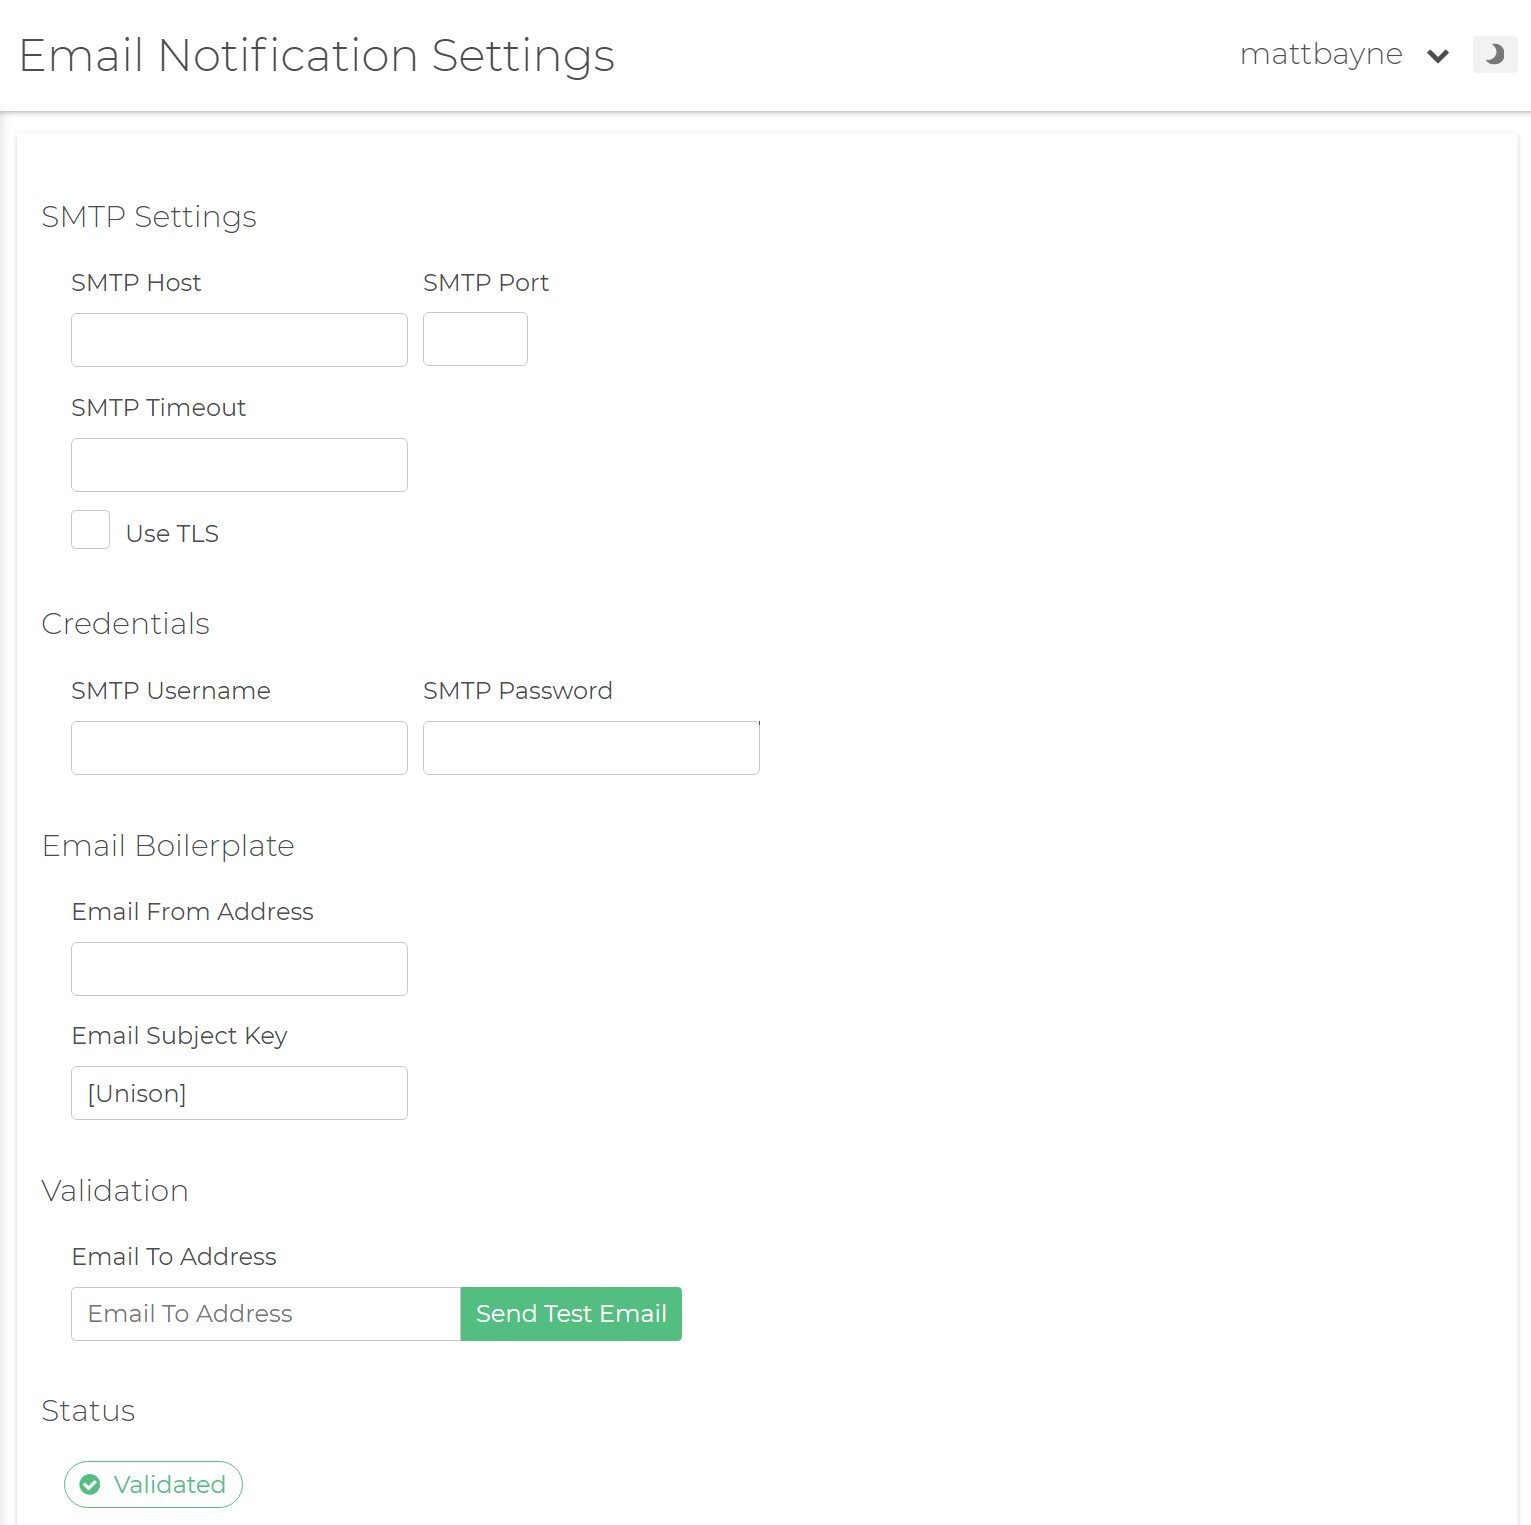
SMTP Settings
- SMTP Host
- The Simple Mail Transfer Protocol (SMTP) host address.
- SMTP Port
- The port the SMTP host listens on.
- SMTP Timeout
- The SMTP timeout in seconds.
- Use TLS
- Transport Layer Security (TLS) will encrypt the SMTP protocol.
Credentials
- SMTP Username
- The username for the SMTP server.
- SMTP Password
- The password for the user on the SMTP server.
Email Boilerplate
- Email From Address
- The "From" email address that any boilerplate emails will appear to be sent from.
- Email Subject Key
- The subject that will prepend any boilerplate email notifications.
Validation
- Email To Address
- The email to test for verification.
Status
The email verification status will be displayed here.
Enable

- Enable SMTP
- Select this to enable the Simple Mail Transfer Protocl (SMTP) server to generate email notifications for users.
- Job Notifications
- Select what Job States you want users to receive notifications for. An unchecked box indicates no notifications will be sent for that job event.
- User Notifications
- Select what changes to user accounts you want users to be sent email notifications about.
- Email Attributes
-
- Base URL for Embedded Email Links
- The Base URL base location of your URL which can be changed depending on your needs. For example, you can change the base URL from http://generic:4200 to http://MyCompanyName:4200, you can also change the port number (in this case 4200) if needed.
- Embedded Support Email Address
- When Unison sends out generated emails this is the email address users will be instructed to follow up with for additional information.
License
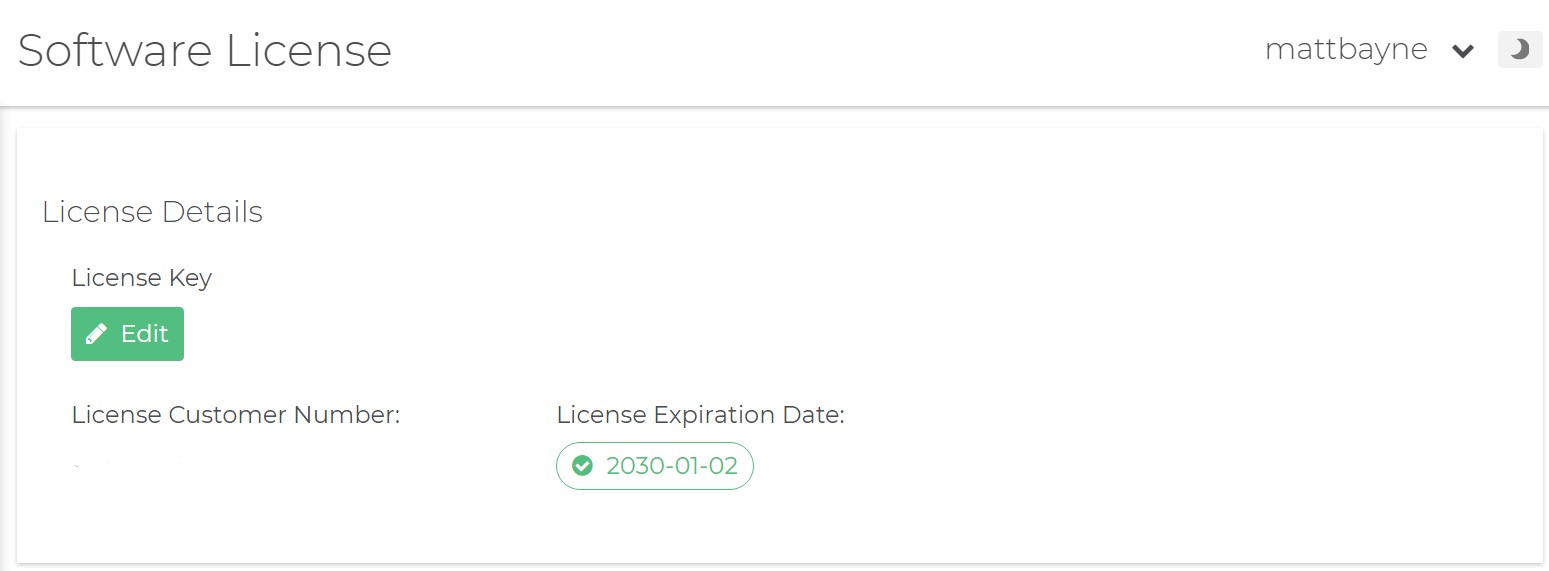
This section displays your license details, including the expiration date.
License Key
- Your license key. You can edit this by clicking the Edit button.
License Customer Number
- The customer ID number associated with your license.
License Expiration Date
- The date your license expires.
Project Defaults
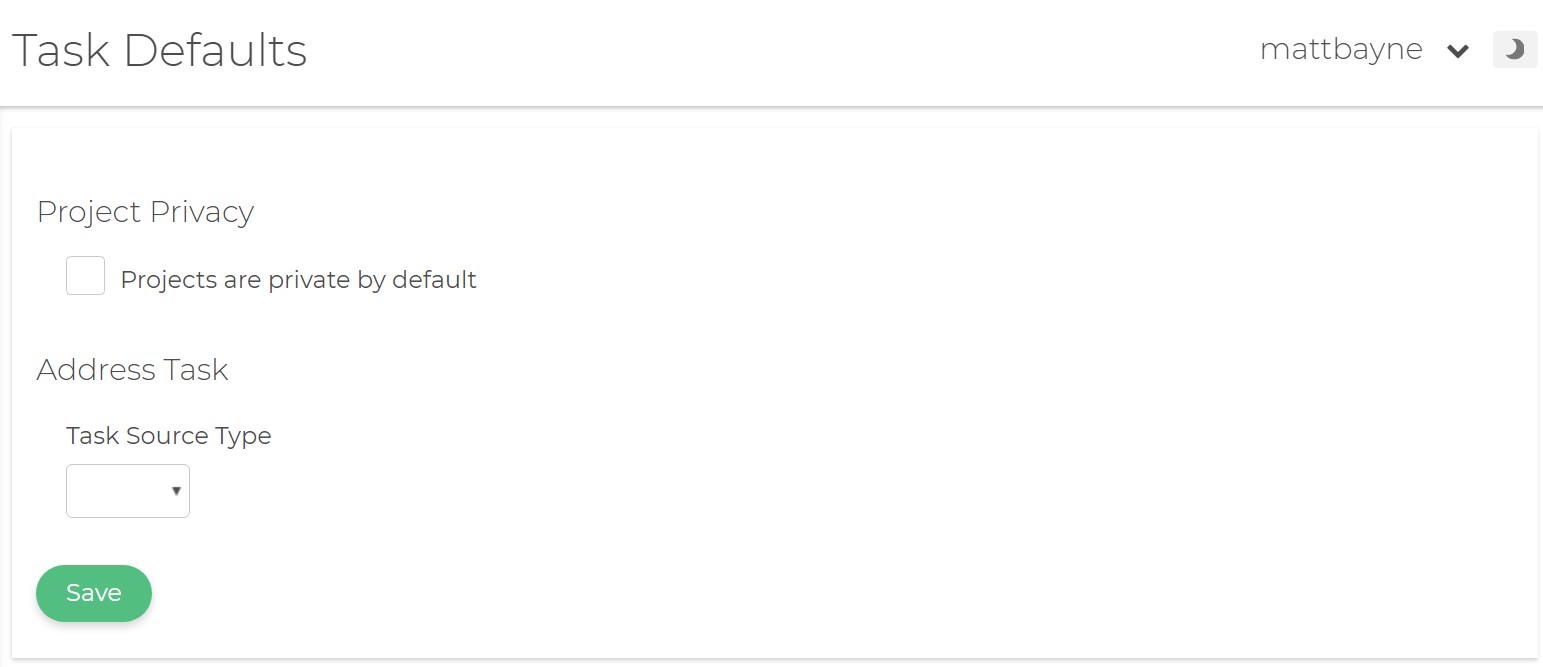
Project Privacy
Check this box to set projects as private by default.
Address Task
- Task Source Type
- Set the task source type as US or Global.
Report Configuration
Default Reports
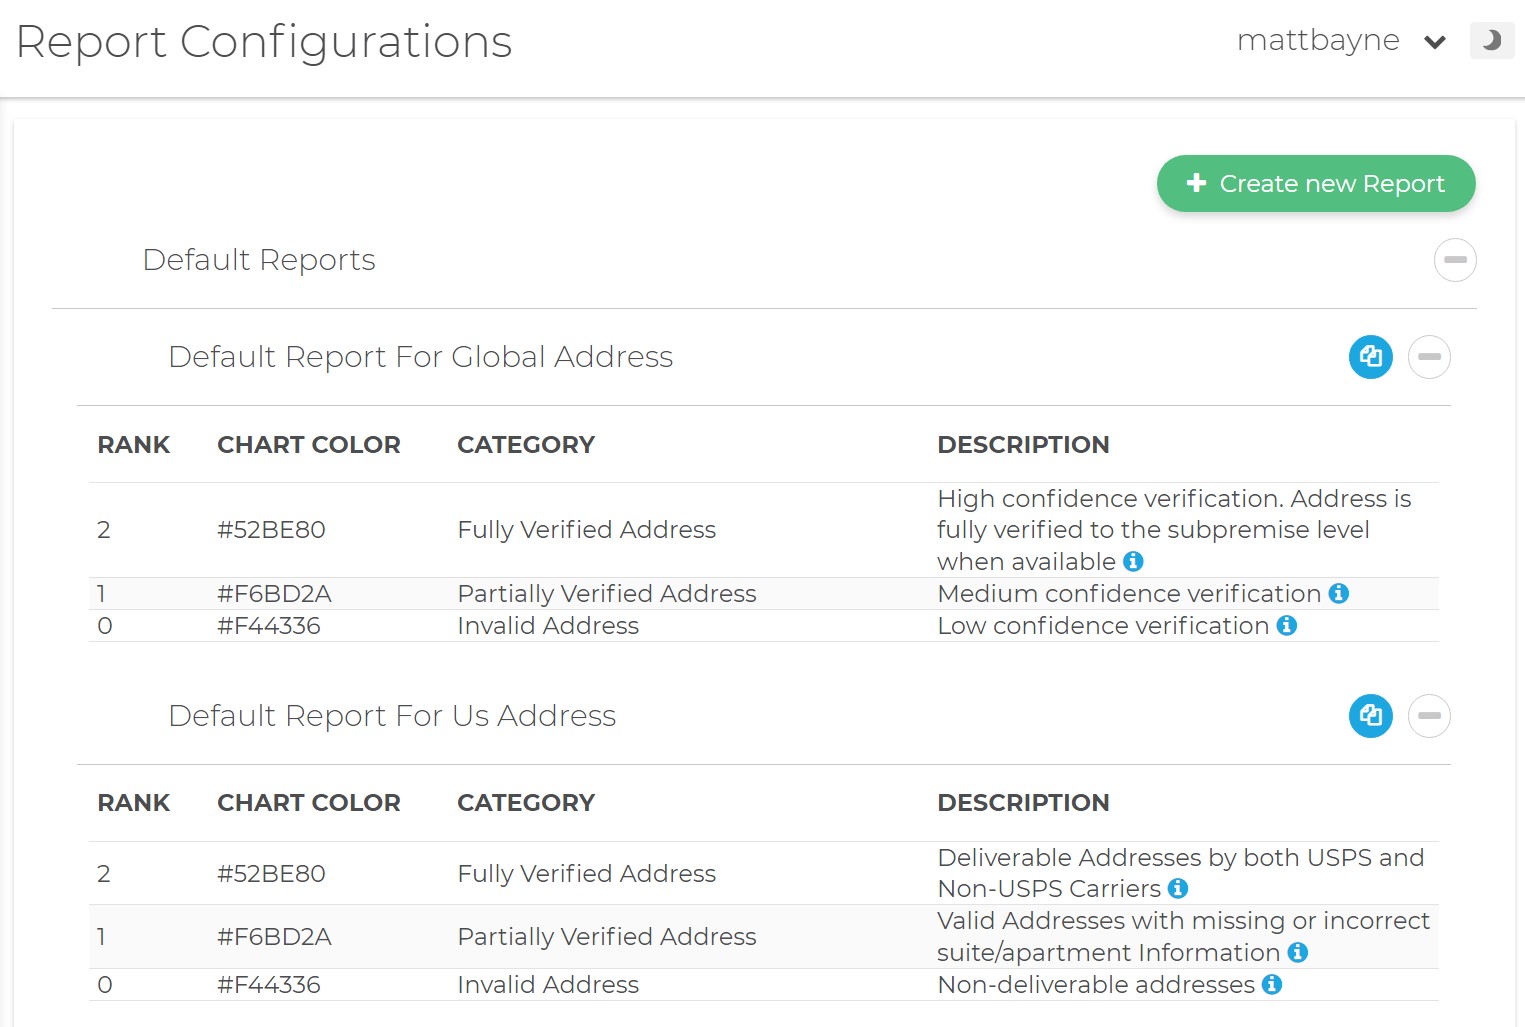
- The default reports for each job type are listed here, indicating the rank, chart color, category, and description.
Custom Reports
- Custom reports are listed here. If you want to make a new custom report, click the Create New button.
- Report Name
- Give your custom category report a name here.
- Categories
- Click Add a Category to add a new category, and customize it under Category Details.
- Category Details
- First, a category has to be added from under Categories. Once that is done, the new category can be named here and given a custom color.
- Query Builder
- Use the query builder to add rules to specify what result codes you want to define your category.
About
This section displays the version information for your install as well as contact information for Melissa.