This wiki is no longer being updated as of December 10, 2025.
|
Salesforce:Getting Started
← Clean Suite for CRM:Salesforce
Listware for Salesforce integrates many Melissa Data cloud services directly into Salesforce via components. Each component provides a certain set of functionality. With Listware, you can pick and choose which components to use within your Salesforce organization based on your needs.
For an overview of the available components, see the Introduction.
Getting Started
Follow the list below to get started quickly:
- Install Listware
- Setup Listware
- Install Visualforce Pages
- Create Custom Visualforce Pages
- Use Listware for Salesforce
Install Listware
Before everything, you need to install Listware for Salesforce. For a guide on how to do this, see Installation.
Setup Listware
Once Listware is installed, there is some basic setup required before you can use it. For a guide on how to do this, see Setup.
Install Visualforce Pages
Listware includes premade Contact Visualforce pages for Personator, Global Address Verification, and Property. To install these Visualforce pages, see Installing Visualforce Pages.
Create Custom Visualforce Pages
To create your own Visualforce pages for other types of objects (Leads, Accounts or custom objects), see Custom Visualforce Pages.
Use Listware for Salesforce
To use Listware for Salesforce:
1. Navigate to a contact page.
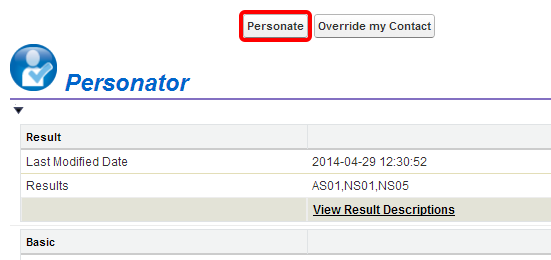
Click the Added Button
2. Click the button you added.

Click the Action Button
3. Click the action button to verify your data.
